

 Español
Content
- 1 First, Work Out Which Handle Has Failed
- 2 A Small Tool Kit Covers Almost Every Case
- 3 Fixing a Loose or Wobbly Carry Handle
- 4 When the Grip Is Cracked, Split, or Missing
- 5 Telescopic Handles That Stick, Wobble, or Refuse to Lock
- 6 Quick Diagnosis: Symptom, Cause, and Fix
- 7 When Repair Is No Longer Worth It
- 8 Habits That Keep a Handle Healthy
A suitcase handle usually gives up at the worst possible moment — as you lift a fully packed case off the carousel, or drag it down a curb in the rain. It feels like a disaster, but in most cases it is not. Loose screws, a split grip, a sticking telescopic tube: nearly every handle fault is smaller and more fixable than it first appears, and most can be sorted in twenty minutes with a screwdriver and a little patience.
We have been making luggage handles, trolleys, wheels and locks in Jiaxing since 2003, and the same handful of problems come back again and again. Below is how we would talk a friend through a repair, in the order we would actually do it.
First, Work Out Which Handle Has Failed
A travel bag carries two quite different handles, and they fail for different reasons. Before you reach for a screwdriver, identify what you are dealing with:
- The carry grip — the top or side handle you lift the case with. Usually moulded plastic, sometimes wrapped in PU or leather, and bolted or riveted through the shell.
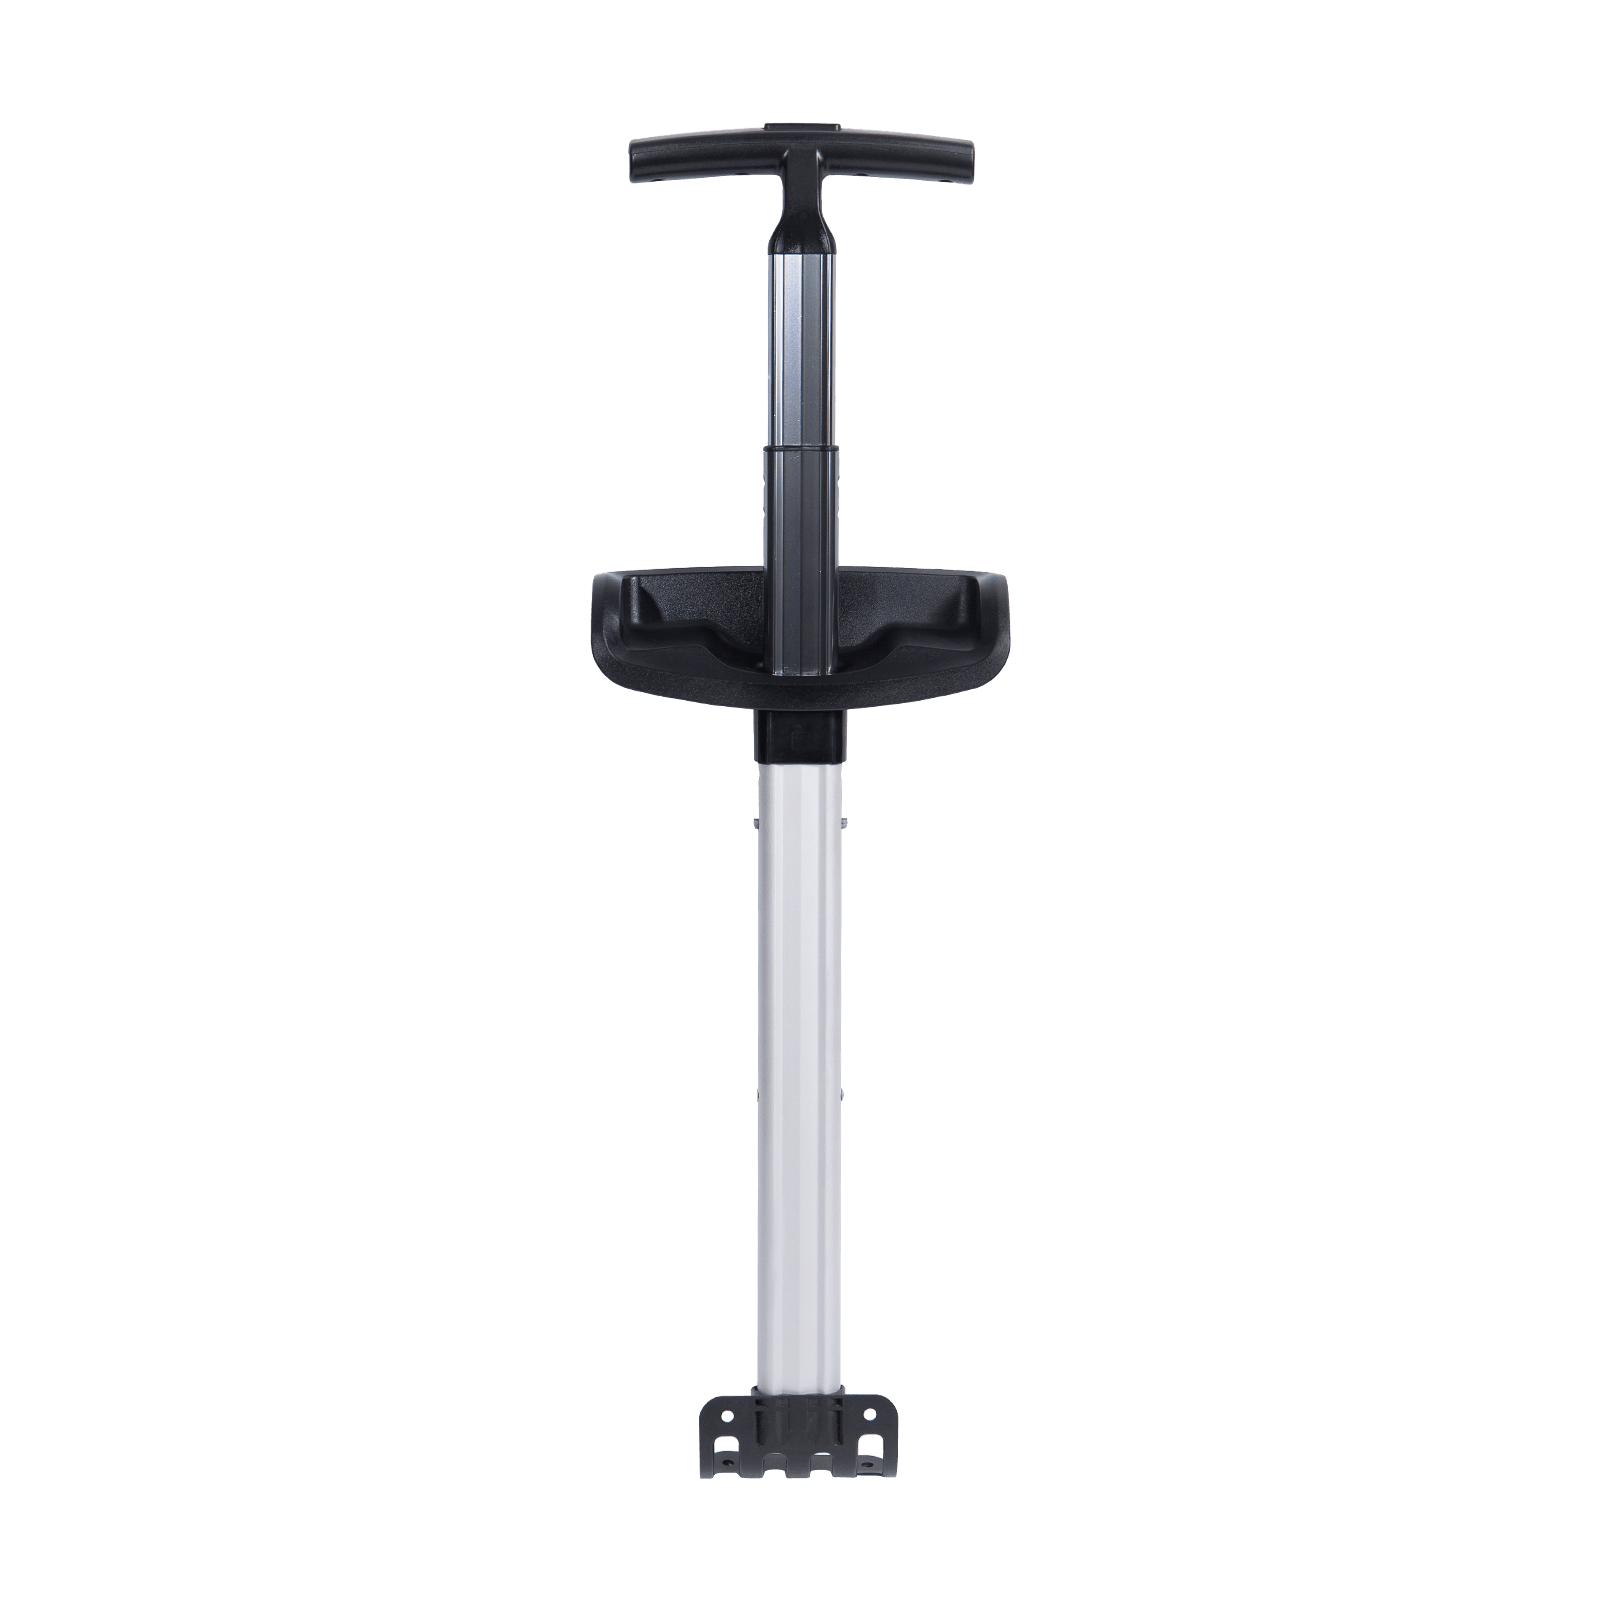
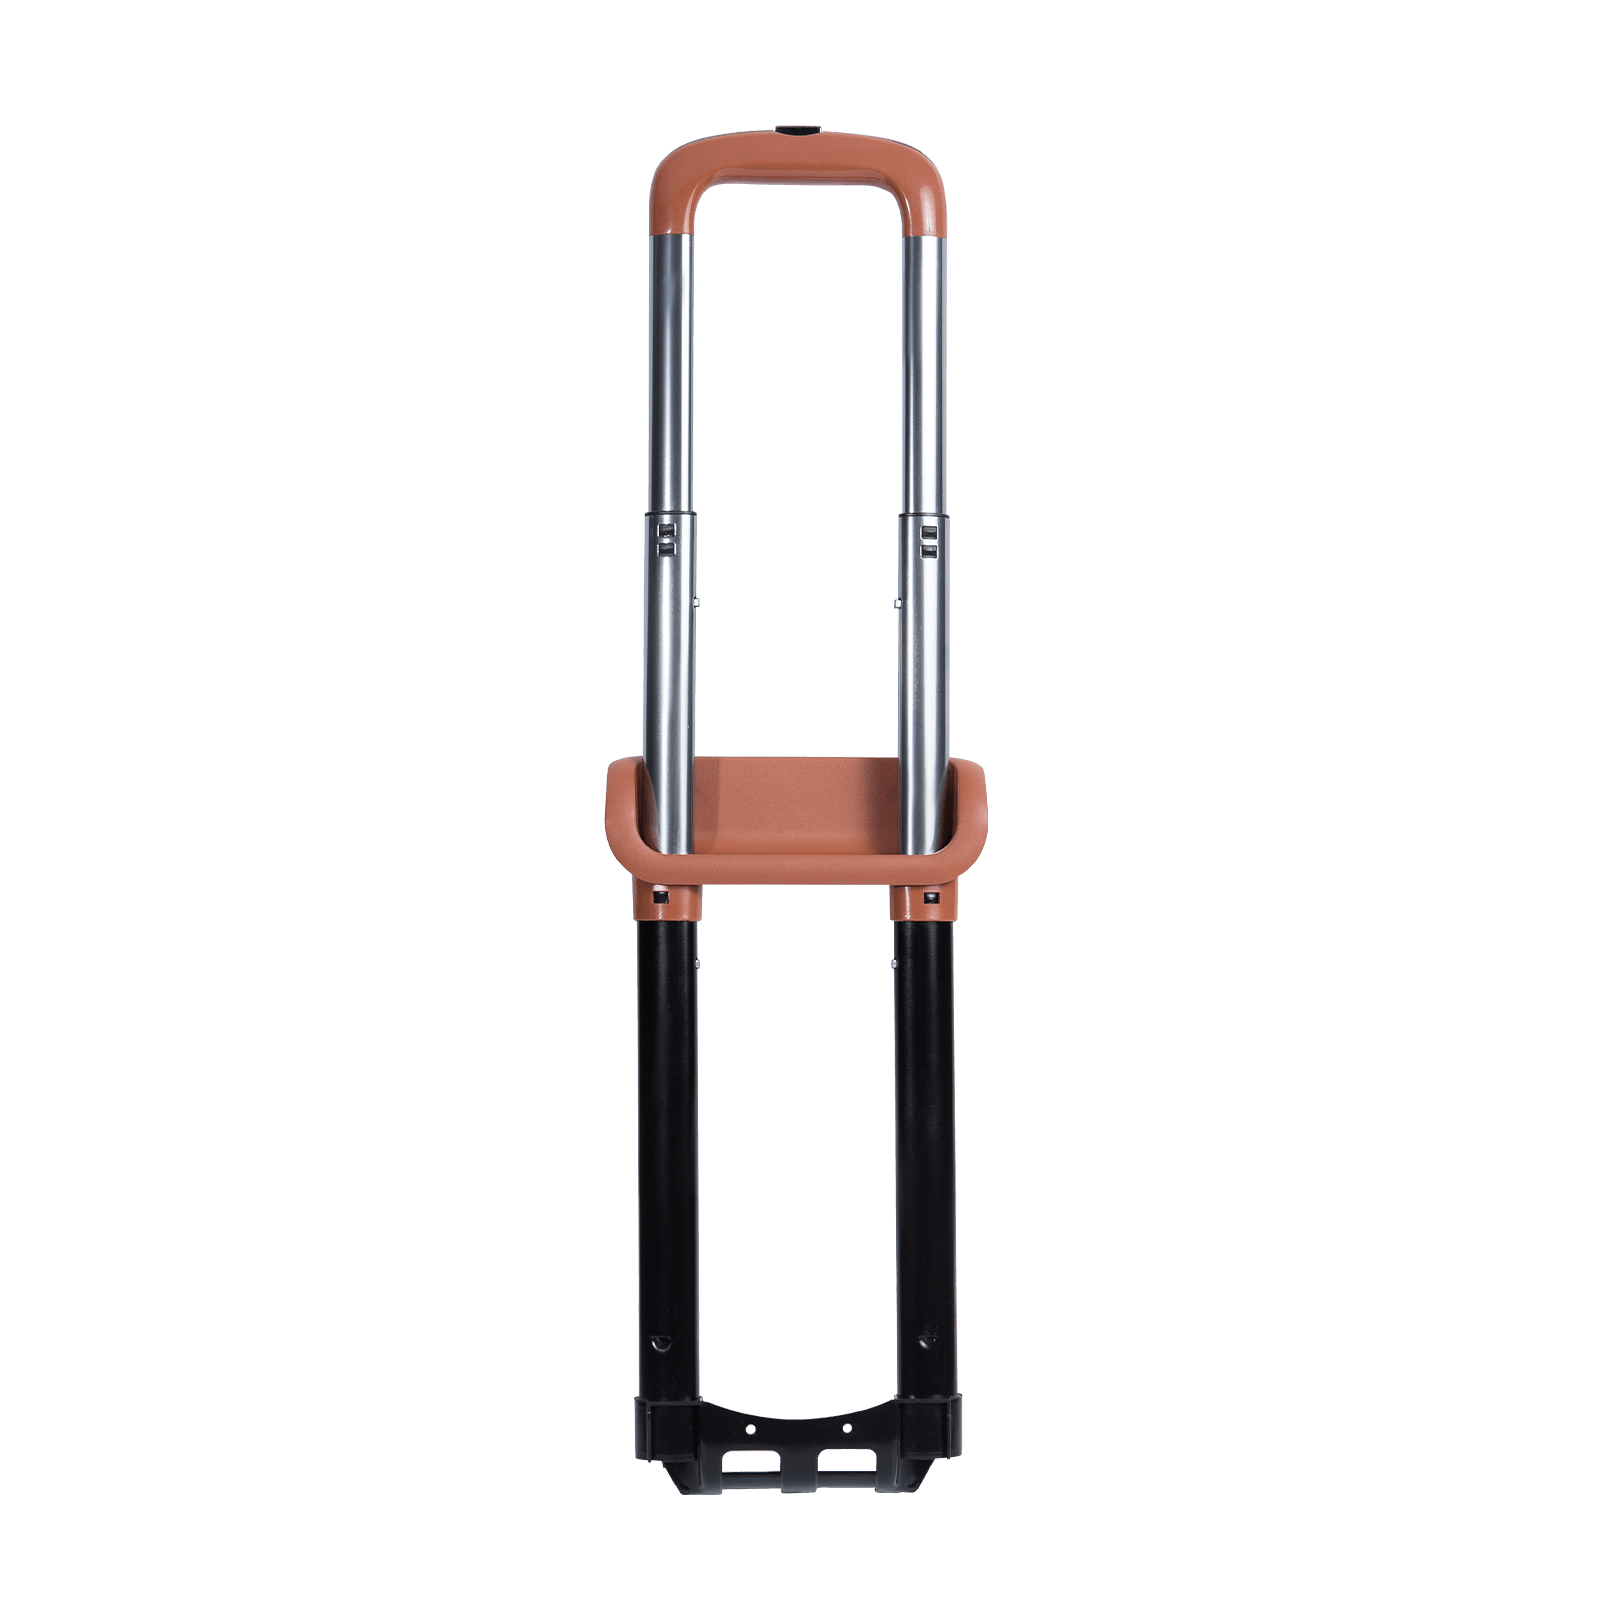
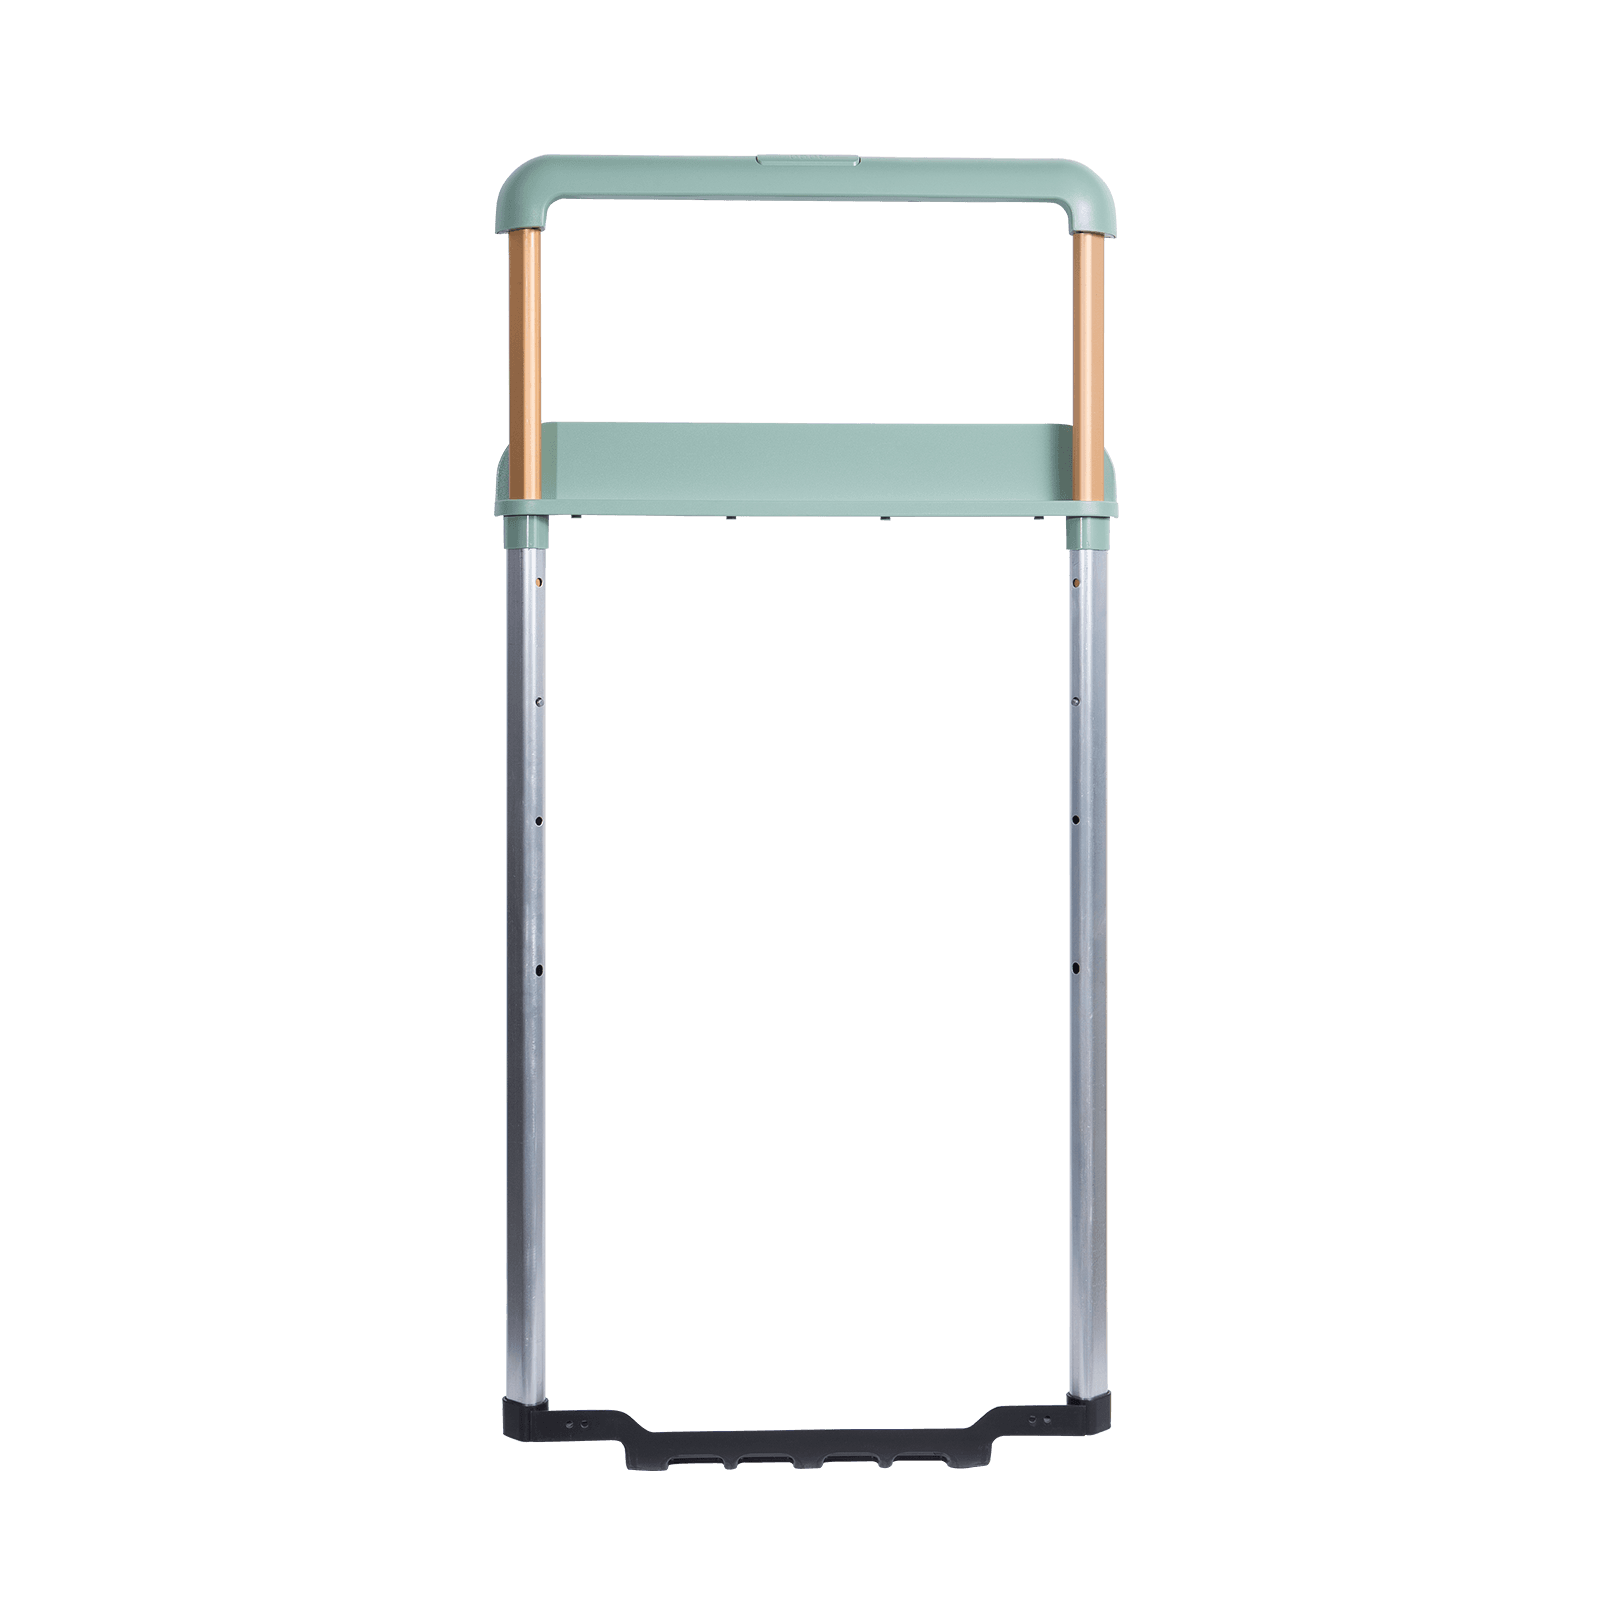
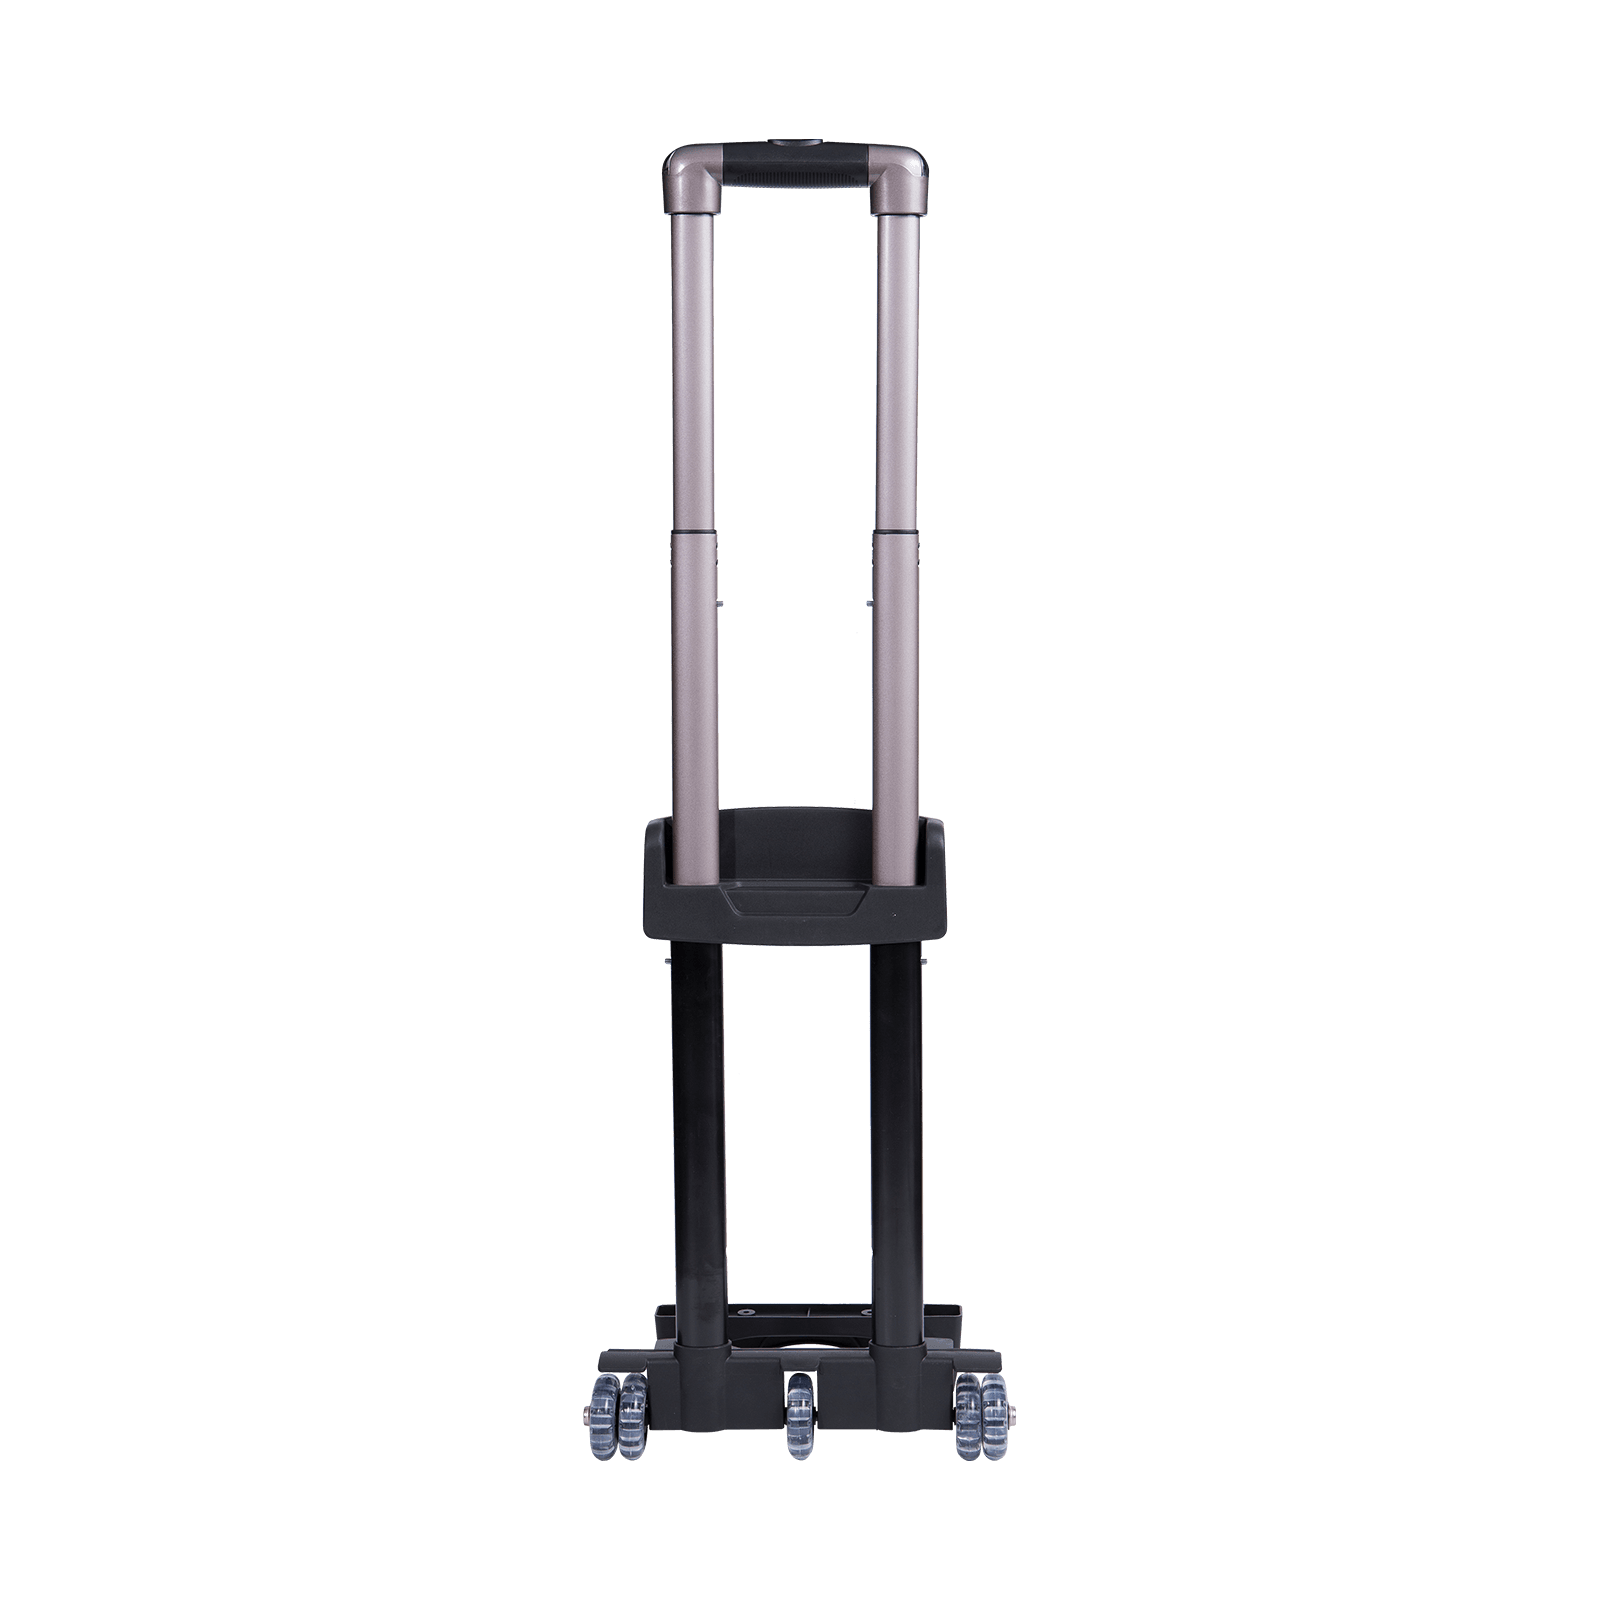
- The telescopic pull handle — two or three aluminium or steel tubes with a release button, mounted on a base plate inside the case.
- The mounting points — screws, rivets, or a moulded plastic housing that anchors either handle to the body.
A quick test tells you a lot: empty the case, stand it upright, and wiggle the grip firmly from side to side while watching the mounting points. If the whole assembly moves, the fasteners are the problem. If only the grip flexes or opens up, the plastic itself has failed.
A Small Tool Kit Covers Almost Every Case
Nothing exotic is needed. This is roughly the kit we keep on the sample bench:
- Phillips screwdrivers in sizes 1 and 2, plus one small flathead
- Pliers or a small adjustable spanner for nuts and rivet heads
- Medium-strength thread-locking fluid
- A few spare M4 and M5 machine screws, washers and a rivet nut or two
- Two-part epoxy for cracked plastic bases
- A ruler or caliper, and a soft cloth with mild detergent
Fixing a Loose or Wobbly Carry Handle
This is by far the most common repair, and the most rewarding one.
- Empty the case and open any lining zip so you can reach the inner side of the mounting plate.
- Check what holds the handle: screws can be tightened and replaced, rivets must be drilled out and refitted.
- For screws, tighten them gently and watch the head. If it keeps spinning without biting, the thread in the plastic housing has stripped.
- For a stripped thread, either fit a screw one size larger, or fill the hole with epoxy, let it cure fully overnight, and re-drill a pilot hole slightly narrower than the screw.
- Finish with a drop of thread-locking fluid on each screw. Snug is enough — overtightening is what cracks plastic bases in the first place.
If the handle still rocks after tightening, the housing itself may be cracked underneath, which is worth checking before you put the lining back. We go through the diagnostic side in more detail in our note on what to check when a luggage handle feels loose.
When the Grip Is Cracked, Split, or Missing
Once the plastic of a grip has split at the base, glue rarely holds for long — the load path runs straight through the crack every time you lift the case. Replacement is the honest answer, and it is a ten-minute job if you measure properly first.
- Centre-to-centre distance between the mounting holes — the single most important number
- Screw diameter and length, and whether the original used screws, rivets or a snap-in base
- Overall grip length and the height of the arch, so your hand still clears the shell
- Base type and material: flat plastic base, zinc base, or a soft grip on a rigid core
Write those numbers down before you order anything. A handle with 3 mm of extra hole spacing will fit, but it will sit under tension and crack again within a season.
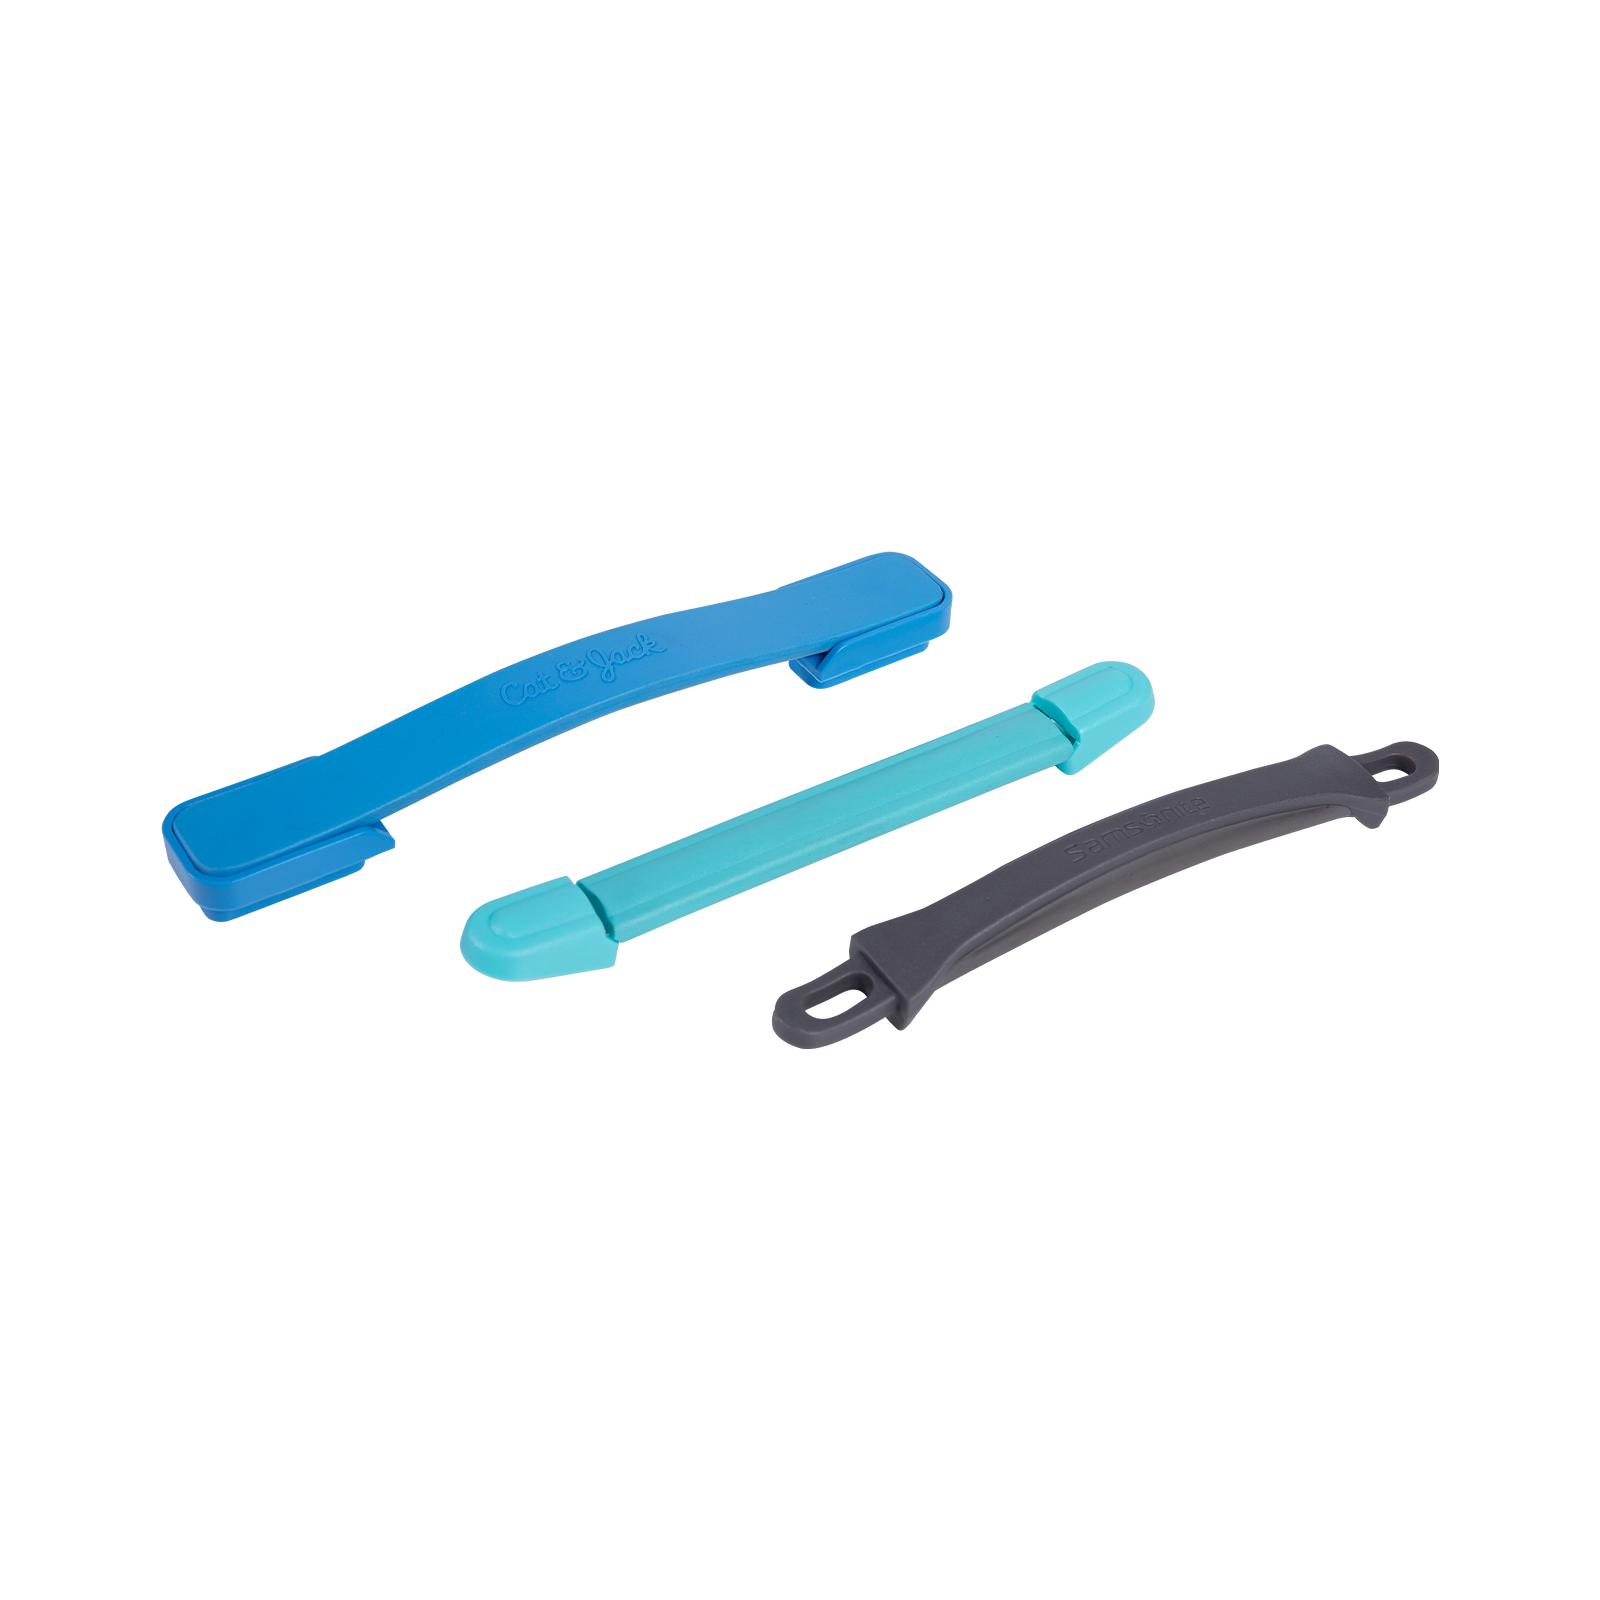
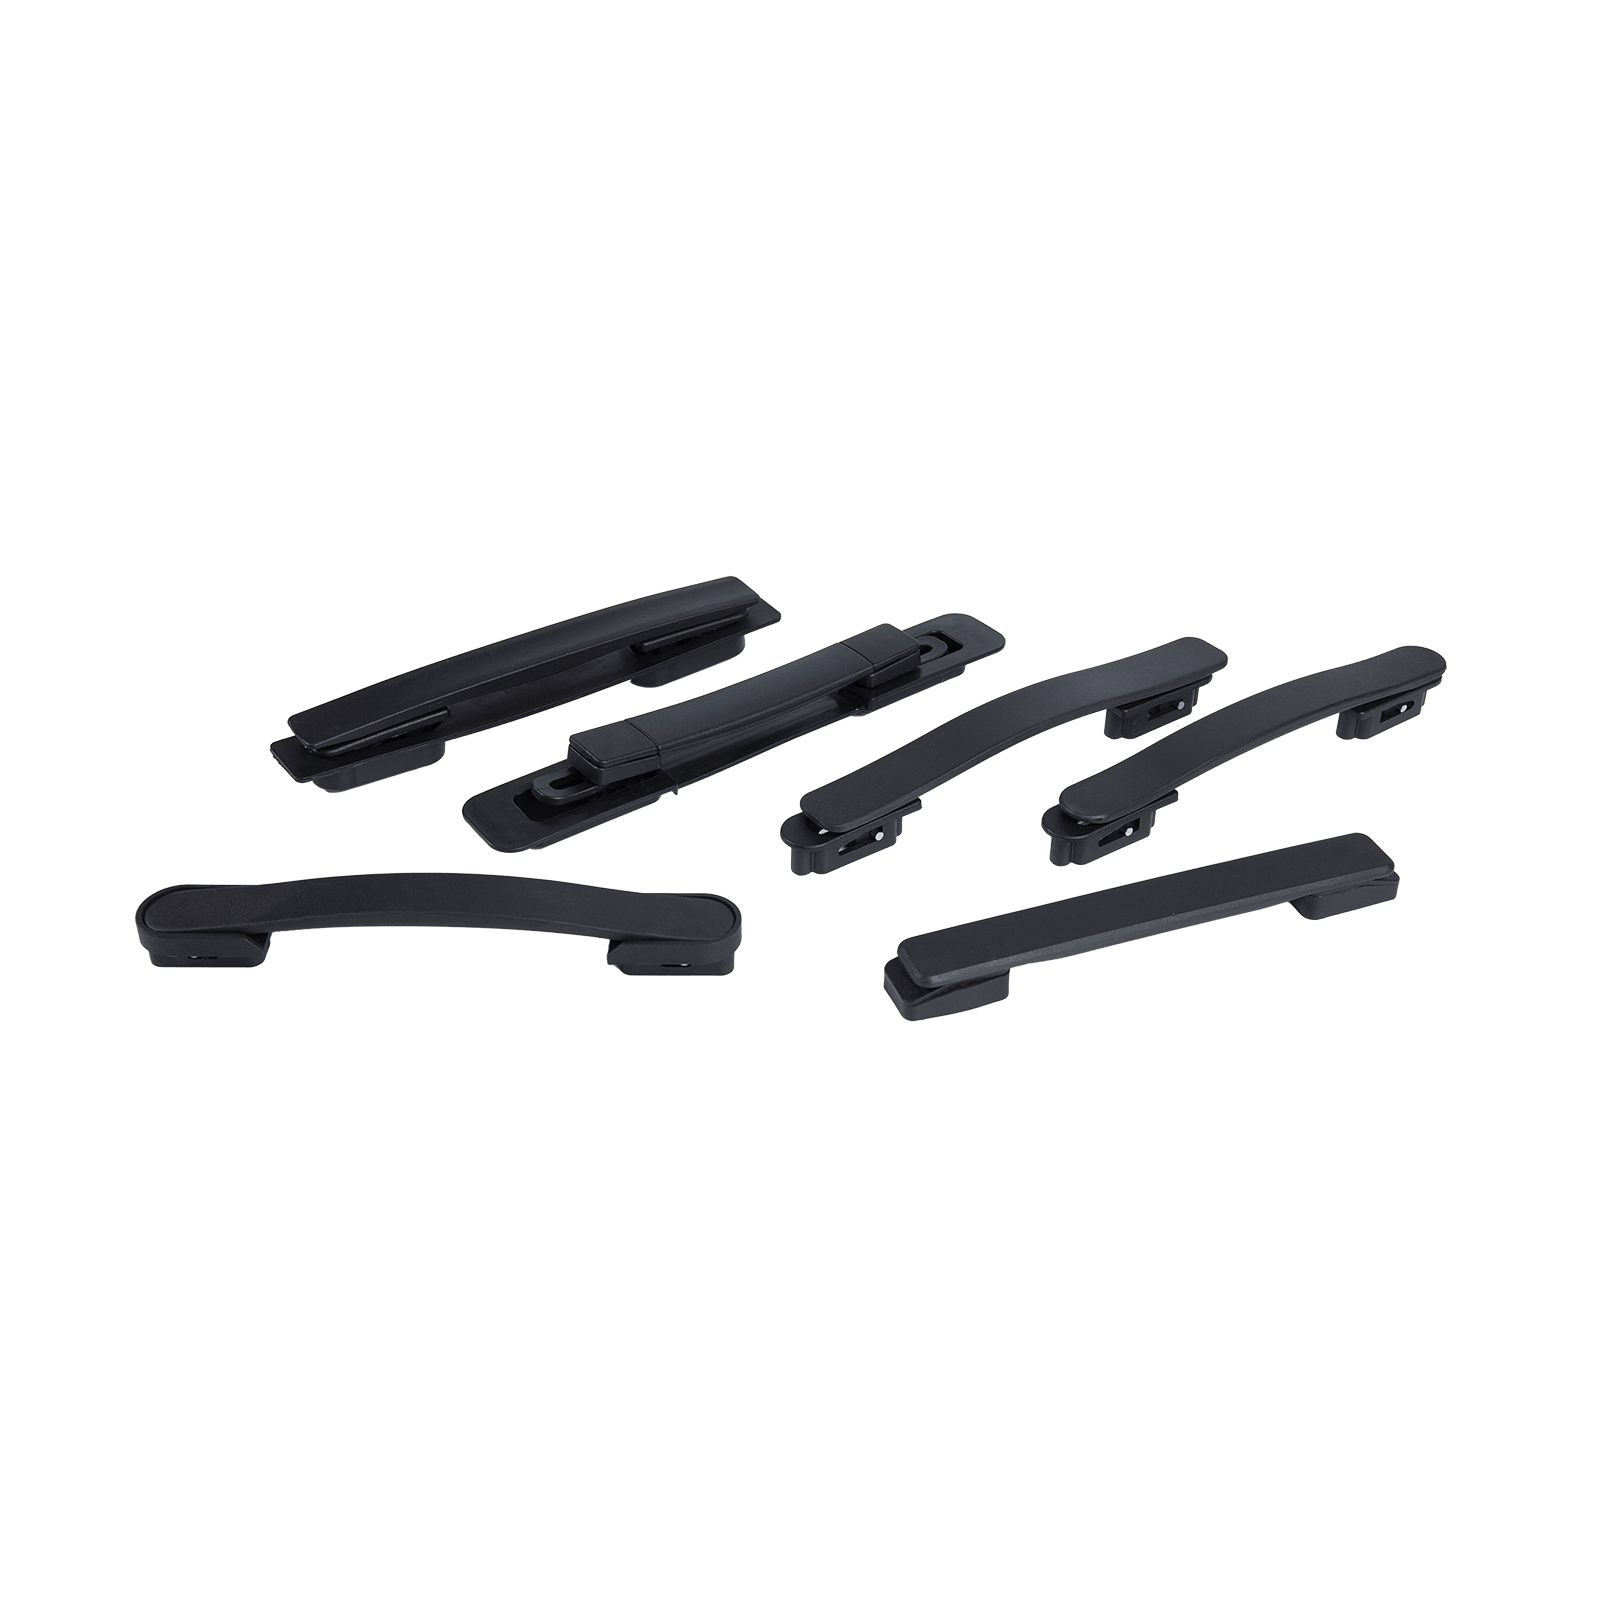 Moulded Plastic Replacement Luggage HandleA straightforward plastic replacement grip for soft cases and lighter carry-on shells, with common hole spacing for most repairs.View Product →
For soft cases and lighter carry-on shells, a straightforward moulded replacement grip like this one covers most repairs. It is the kind of part we mould in volume, so the hole spacing follows common industry dimensions rather than a single brand.
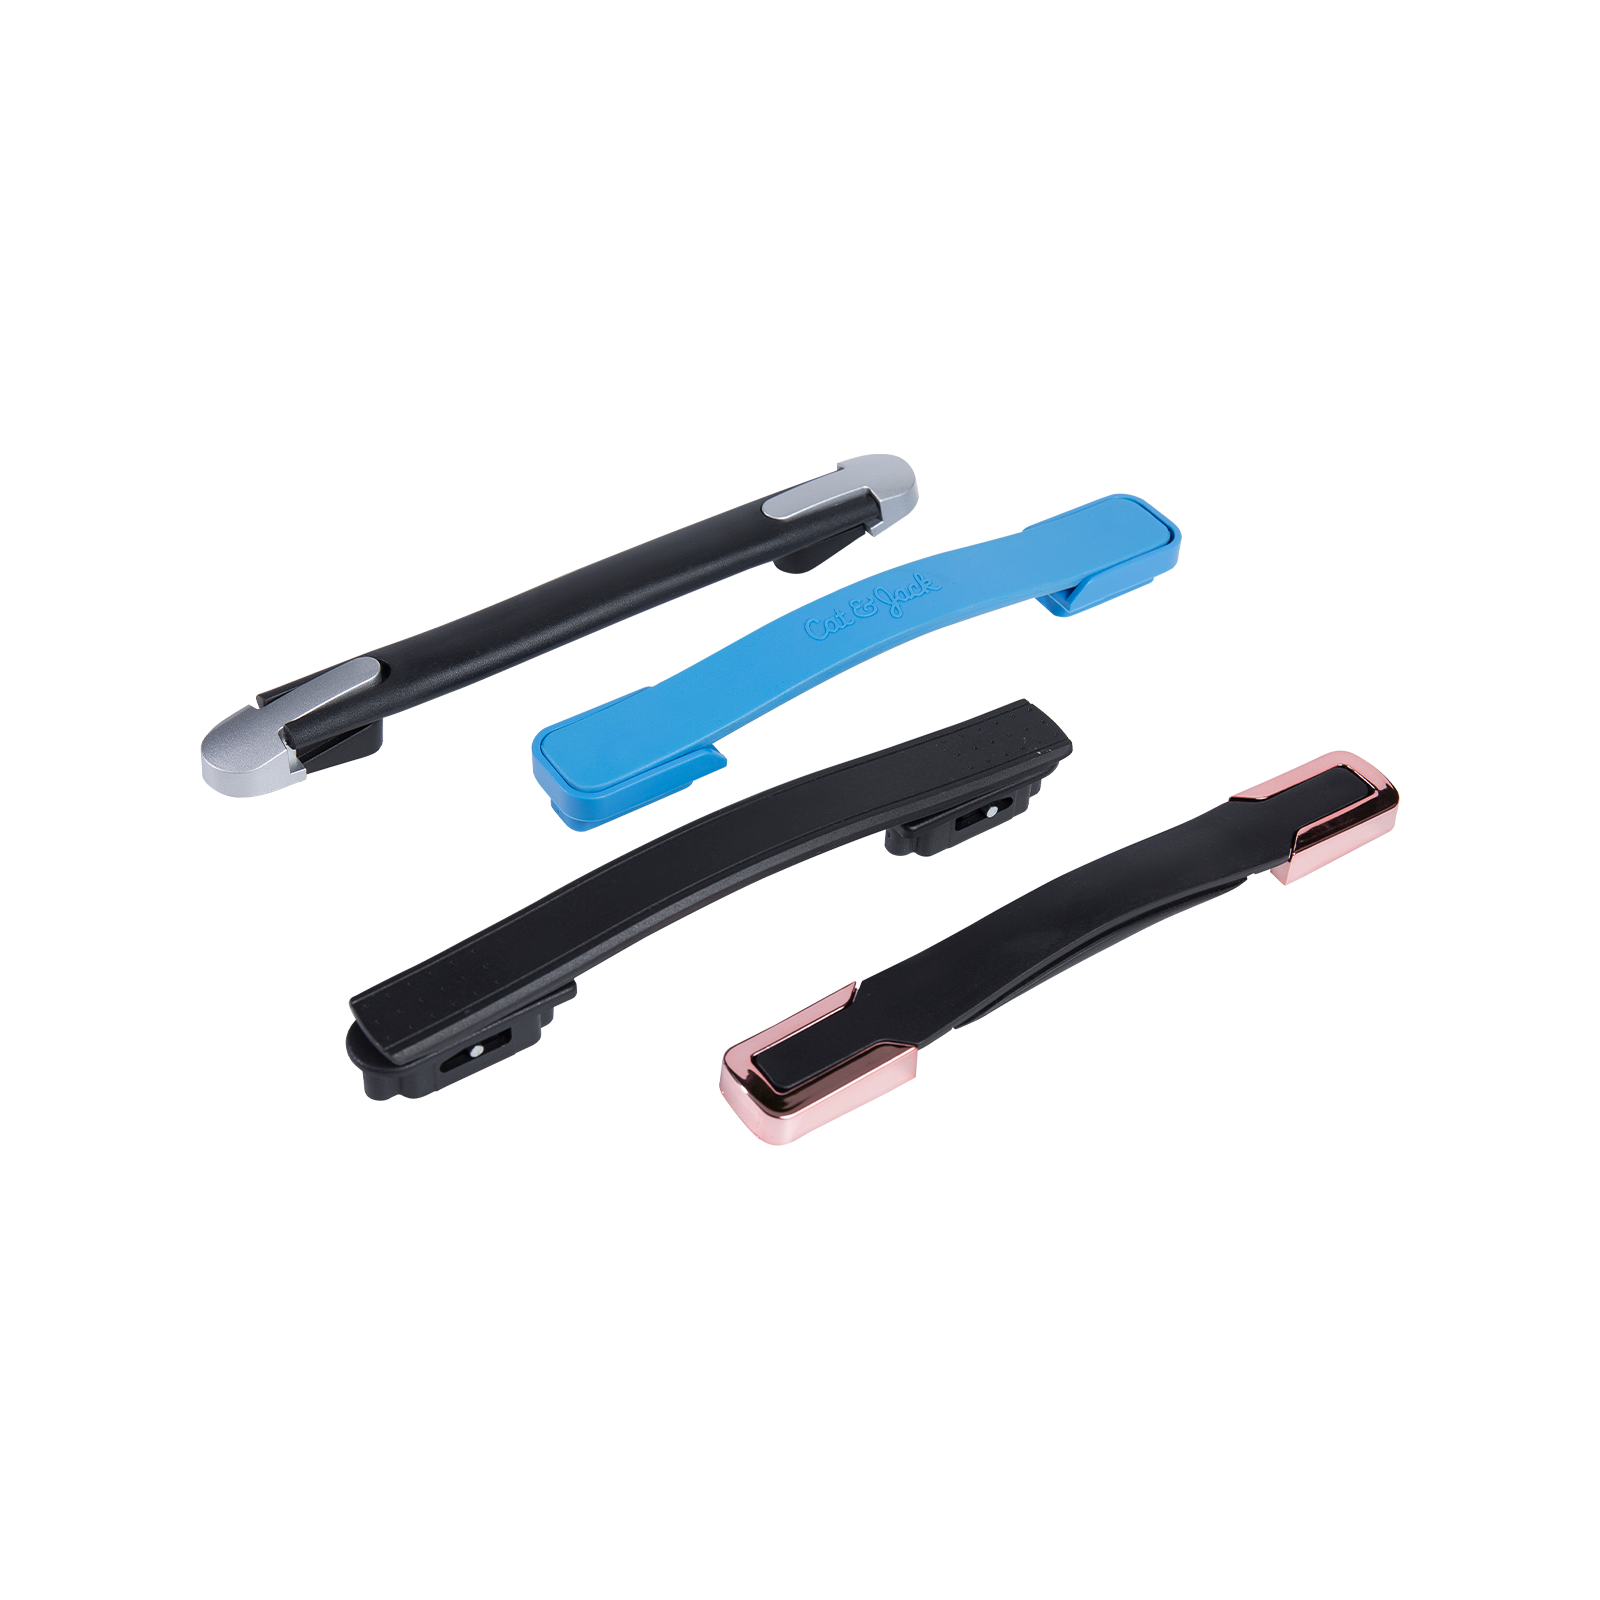
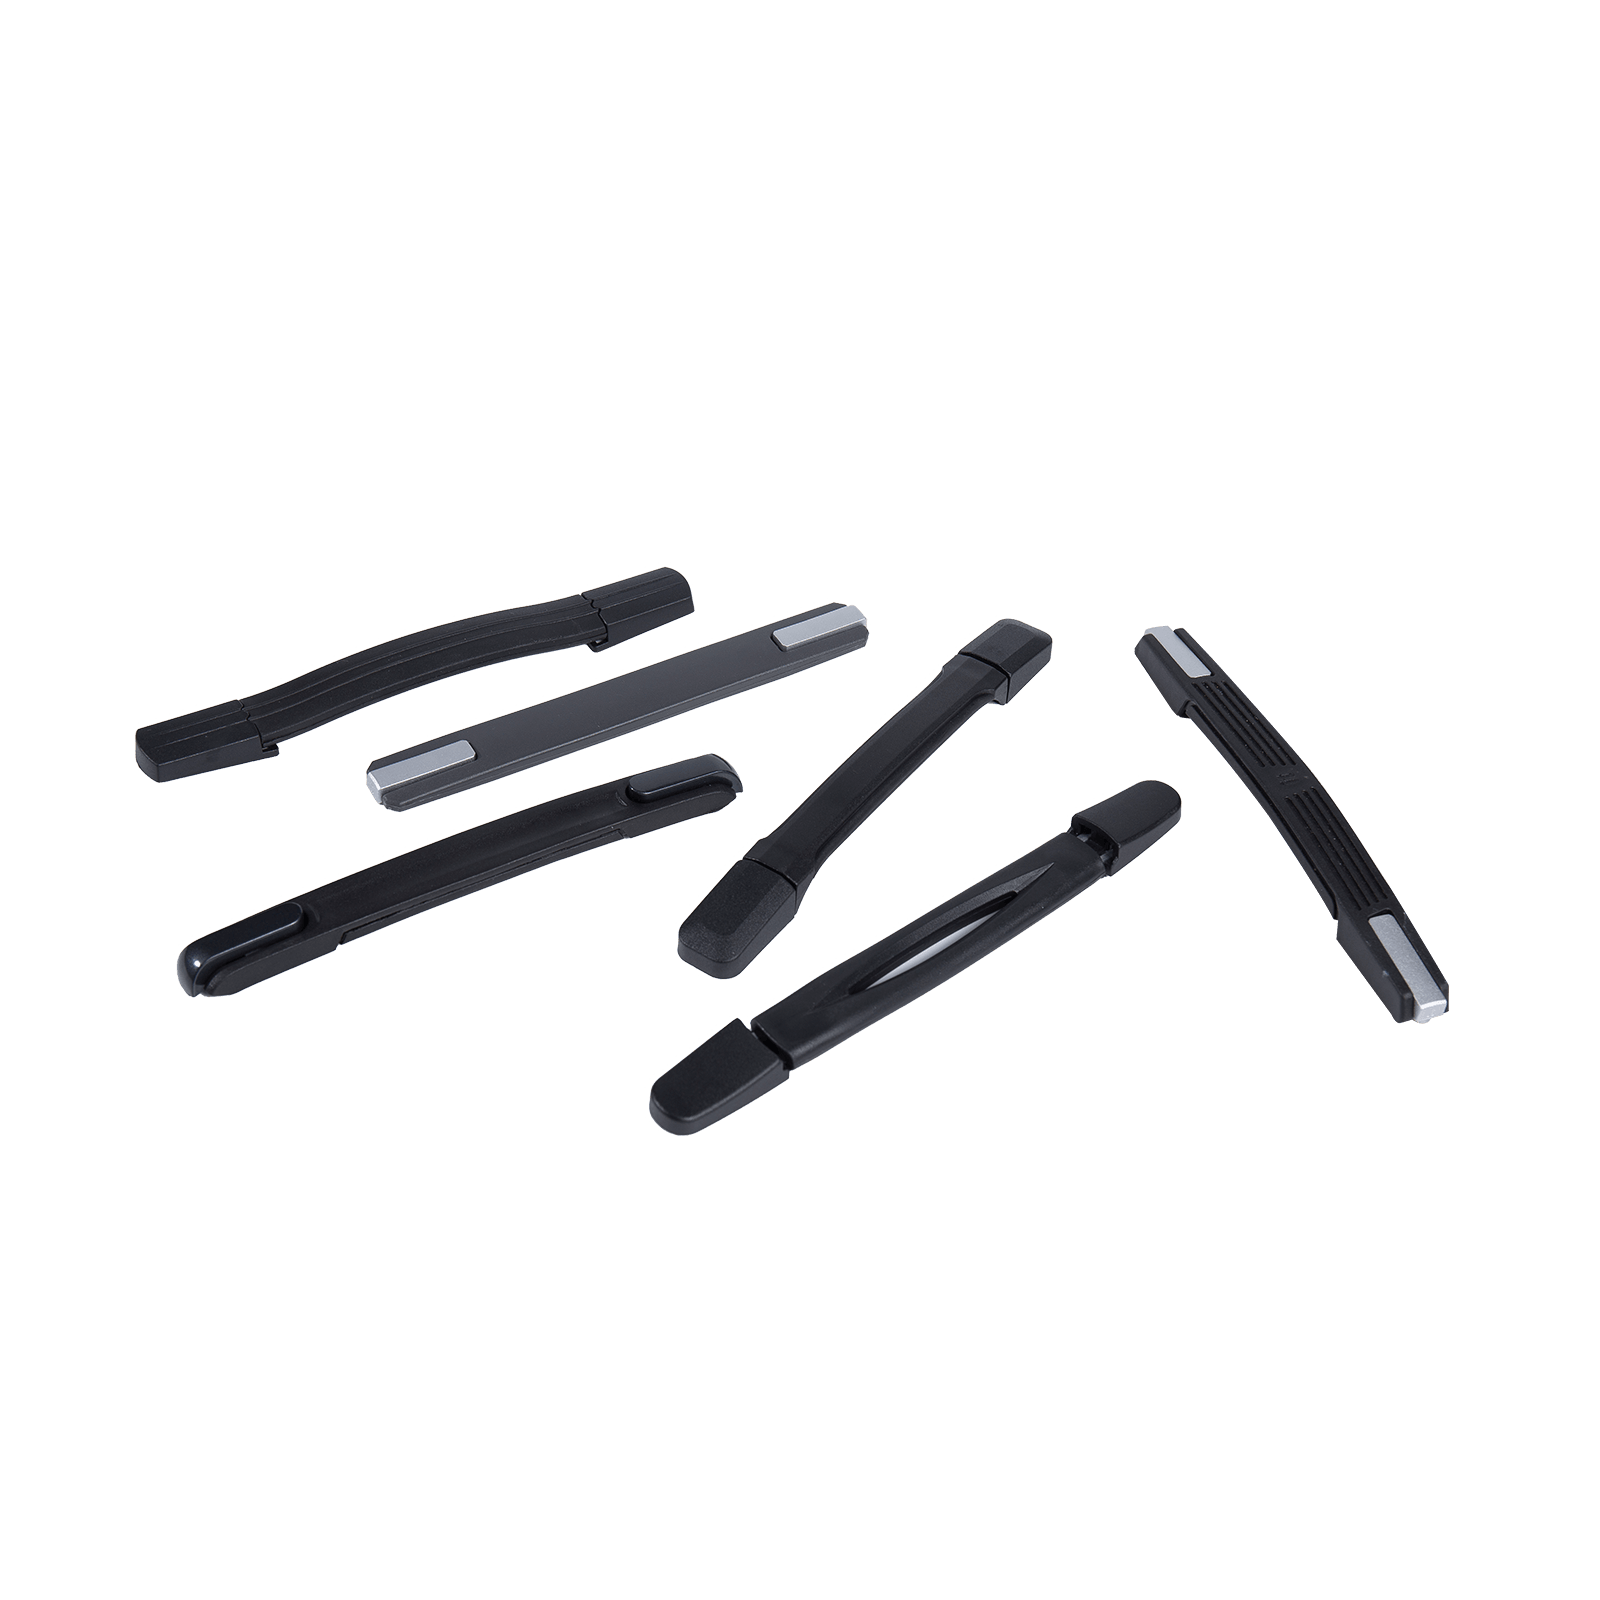 Zinc-Base Luggage Handle for Heavier CasesA metal-backed handle with a zinc seat that spreads mounting load, suited to heavier cases and bases that have already cracked.View Product →
Heavier cases, and anything that has already cracked once at the base, benefit from a metal-backed design. A zinc base spreads the load across the mounting area instead of concentrating it in two small plastic bosses, which is why it survives rougher handling.
Telescopic Handles That Stick, Wobble, or Refuse to Lock
The pull handle has more moving parts, so diagnose before dismantling.
Sticking or stiff movement
Extend the handle fully and wipe the tubes clean, then apply a dry silicone or PTFE spray — never thick grease, which collects grit. If one section still jams, the tube is probably slightly bent; straightening aluminium rarely lasts, so a replacement tube set is the realistic fix.
Wobble at the base
Play here usually comes from the base plate working loose inside the shell, or from worn guide bushes. Tighten the internal fixings first; if the wobble remains, the housing or bushes need replacing.
A release button that no longer locks usually means a broken spring or a worn latch block inside the grip. These are sealed assemblies on most models, so the practical answer is a new handle unit rather than a component swap.
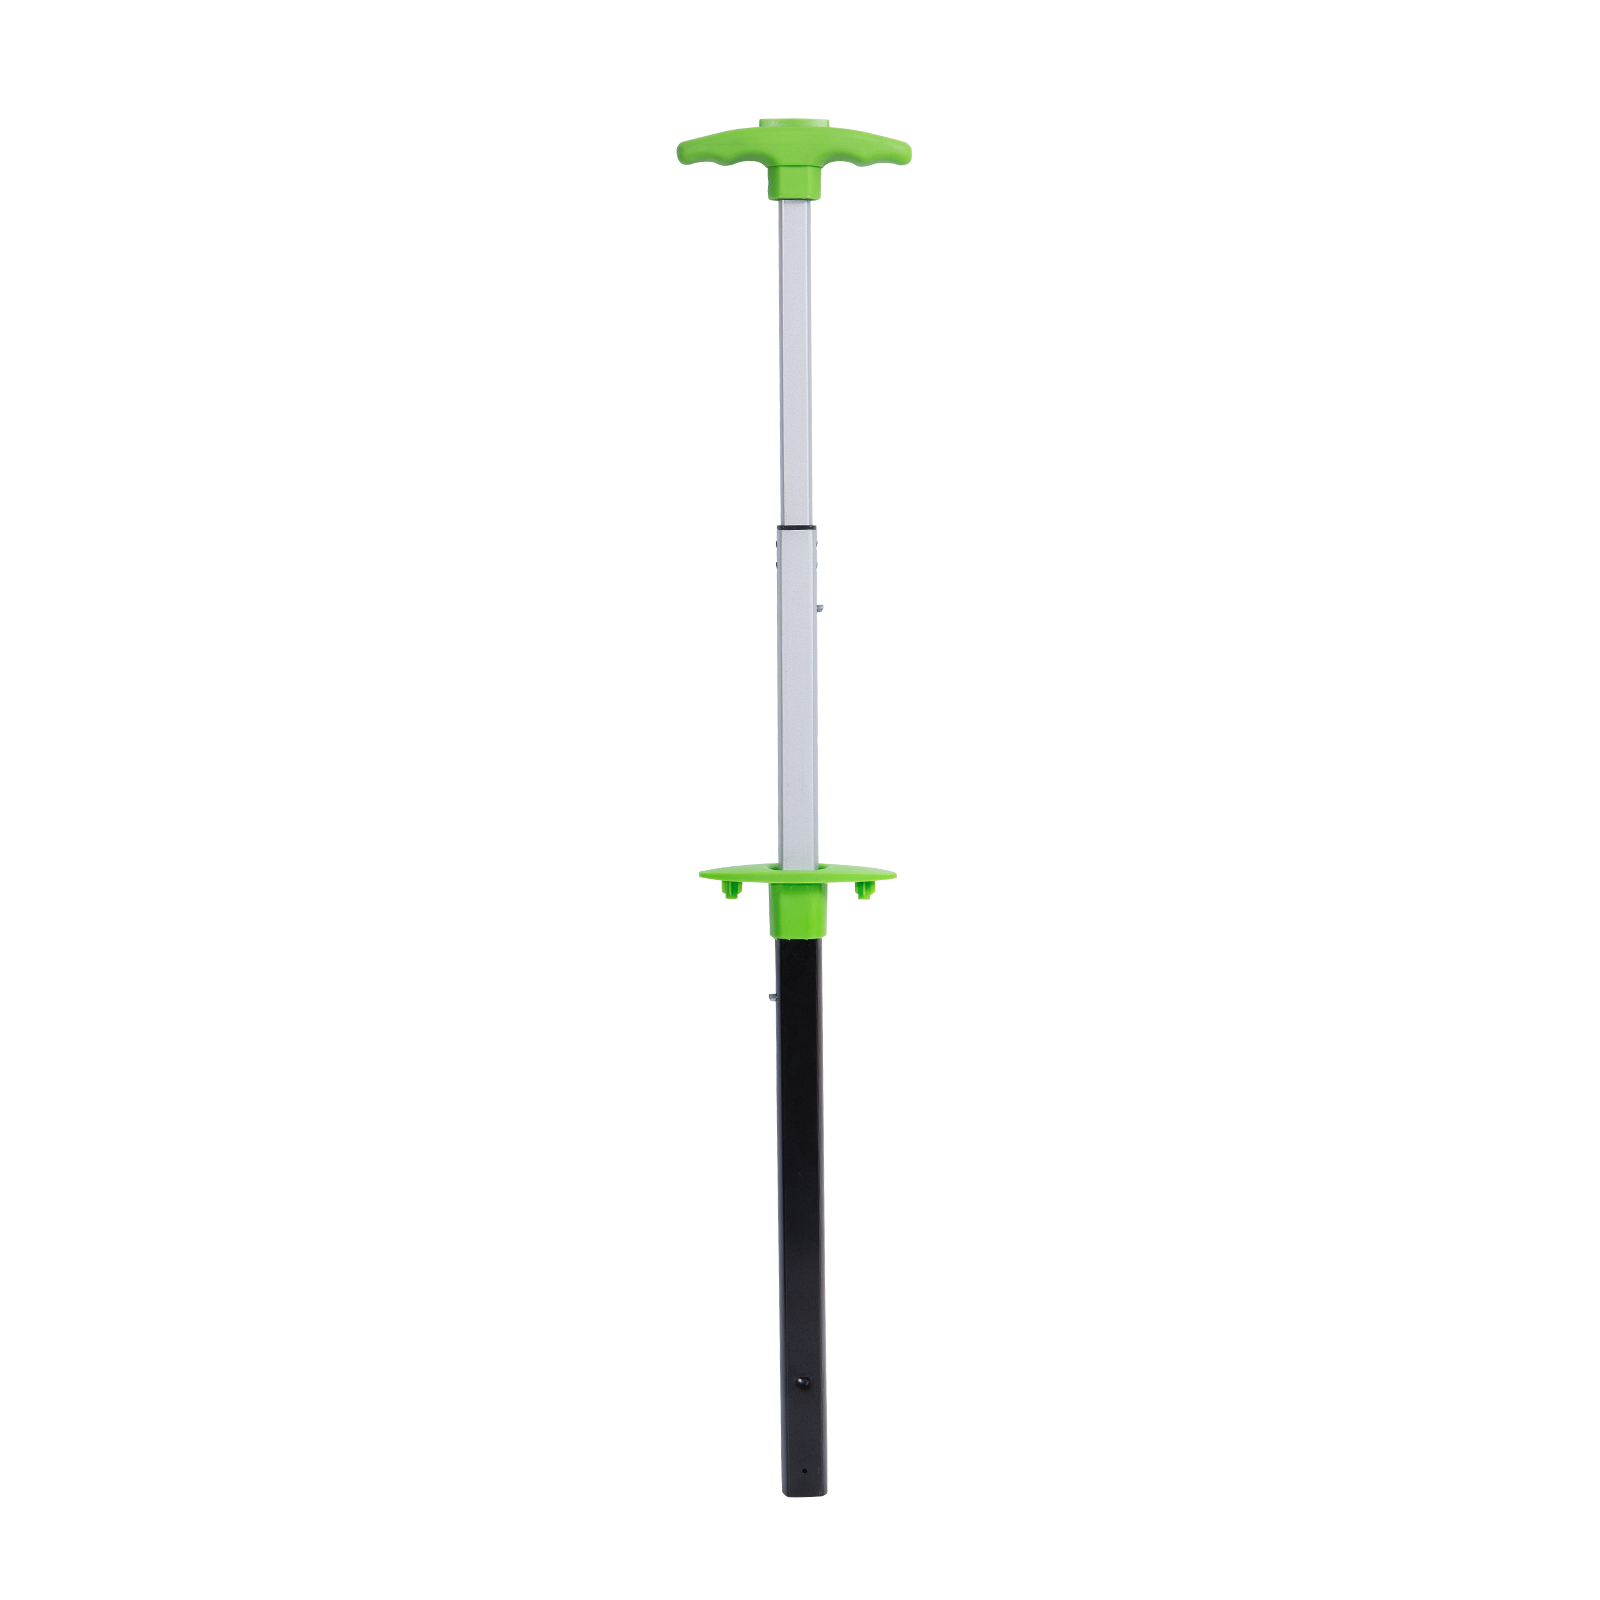 Complete Luggage Trolley Replacement UnitA full trolley replacement for worn tubes or locking mechanisms, usually cheaper than chasing individual parts on older handles.View Product →
If the tubes or the locking mechanism have gone, replacing the trolley as a complete unit is usually cheaper than chasing individual parts — and it is the option we recommend when the original handle is more than a few years old.
Quick Diagnosis: Symptom, Cause, and Fix
| Symptom | Most likely cause | What to do |
|---|---|---|
| Grip rocks side to side | Screws loosened, or thread stripped in the plastic housing | Tighten; if the screw spins, fit a larger screw or a rivet nut |
| Crack at the base of the grip | Ageing plastic or a consistently heavy one-handed load | Replace the grip with matching hole spacing |
| Screw heads sinking into the shell | Impact damage or an overloaded case | Add a wide washer or a small backing plate inside |
| Telescopic tube jams halfway | Bent tube, grit in the channel, worn bushes | Clean and lubricate lightly; replace a bent tube set |
| Button no longer locks | Broken spring or worn latch block | Replace the complete handle assembly |
| Grip feels sticky or tacky | Plasticiser migration in older soft grips | Clean and replace with a PP or zinc-base handle |
When Repair Is No Longer Worth It
Some damage sits beyond a home fix, and it is worth recognising the point where you stop. Be cautious when:
- Cracks radiate outward from the mounting holes across the shell itself
- The internal mounting plate has torn free of the lining and the surrounding material is soft or delaminated
- A telescopic tube is kinked rather than merely stiff
- The case is a hard polypropylene shell that has cracked through at the handle anchor
In those cases the handle is not the weak point — the body is. A new handle will simply pull out again on the first trip.
Habits That Keep a Handle Healthy
Most handle failures are cumulative rather than sudden. A few habits add years of life:
- Lift with both the top and side grip when the case is heavy, rather than one hand at an angle
- Check the mounting screws once or twice a year and re-snug them before they work loose
- Keep the telescopic tubes clean and free of sand and salt
- Avoid lifting a case by the extended pull handle — it is designed for pulling, not carrying
If you are repairing one case at home, a matching replacement grip and a spare set of screws will usually outlast the original. If you are sourcing handles for a production line, or want a part tested against your own load requirements, our team at the factory is always happy to talk through dimensions, materials and samples.