

 Español
Content
- 1 First, Work Out Which Handle Has Failed
- 2 Tools to Have on the Table Before You Start
- 3 Repairing a Loose or Torn Soft-Grip Carry Handle
- 4 Replacing a Riveted or Screw-Fixed Plastic Handle
- 5 When the Trolley Handle Is the Problem
- 6 A Quick Diagnostic Chart
- 7 Matching a Replacement Handle Correctly
- 8 Temporary Fixes While You Are Travelling
- 9 Preventing the Next Failure
Few things take the shine off a trip faster than reaching for your suitcase and feeling the handle give way. It almost always happens at the worst moment: halfway up a staircase, at the baggage carousel, or in the middle of a crowded platform. The good news is that most suitcase handle failures are mechanical rather than mysterious, and a large share of them can be sorted out on the kitchen table with a screwdriver, a pair of pliers and twenty quiet minutes.
We have been manufacturing luggage handles, trolleys, wheels and locks at our factory in Jiaxing since 2003, so we have seen just about every way a handle can fail. What follows is how we would walk a friend through the repair, in plain language, without pretending it is more complicated than it is.
First, Work Out Which Handle Has Failed
A suitcase usually carries two or three separate handle systems, and the repair depends entirely on which one has let you down. Before you reach for a tool, identify the part:
- Top carry handle – the soft or moulded grip on the narrow top edge. It is normally screwed or riveted onto a plastic or zinc base plate that sits against the shell.
- Side handle – the same construction in a smaller size, fitted to the long side of the case for lifting it off a belt or out of a car boot.
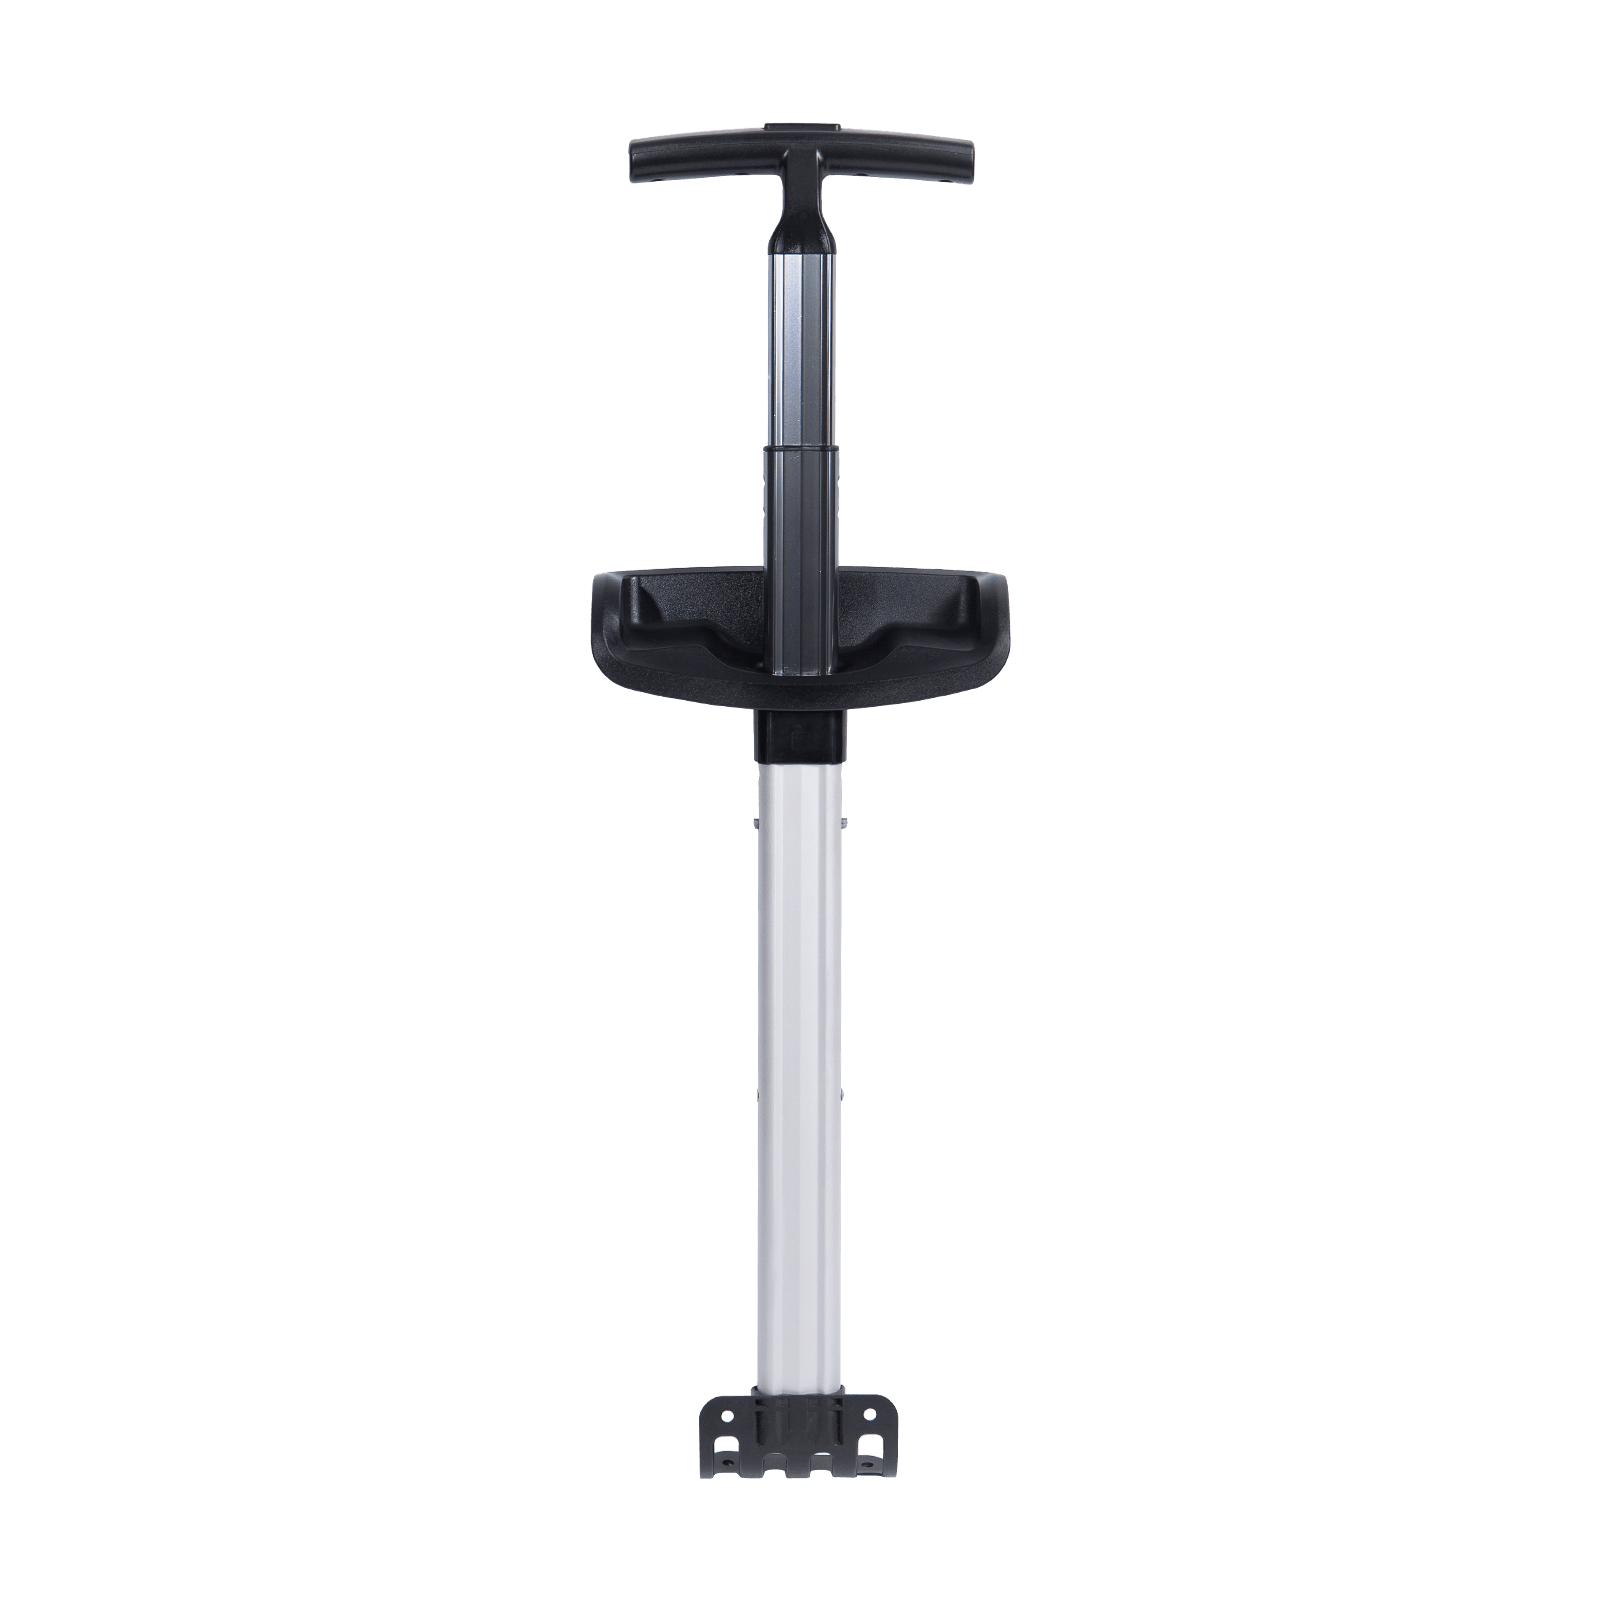
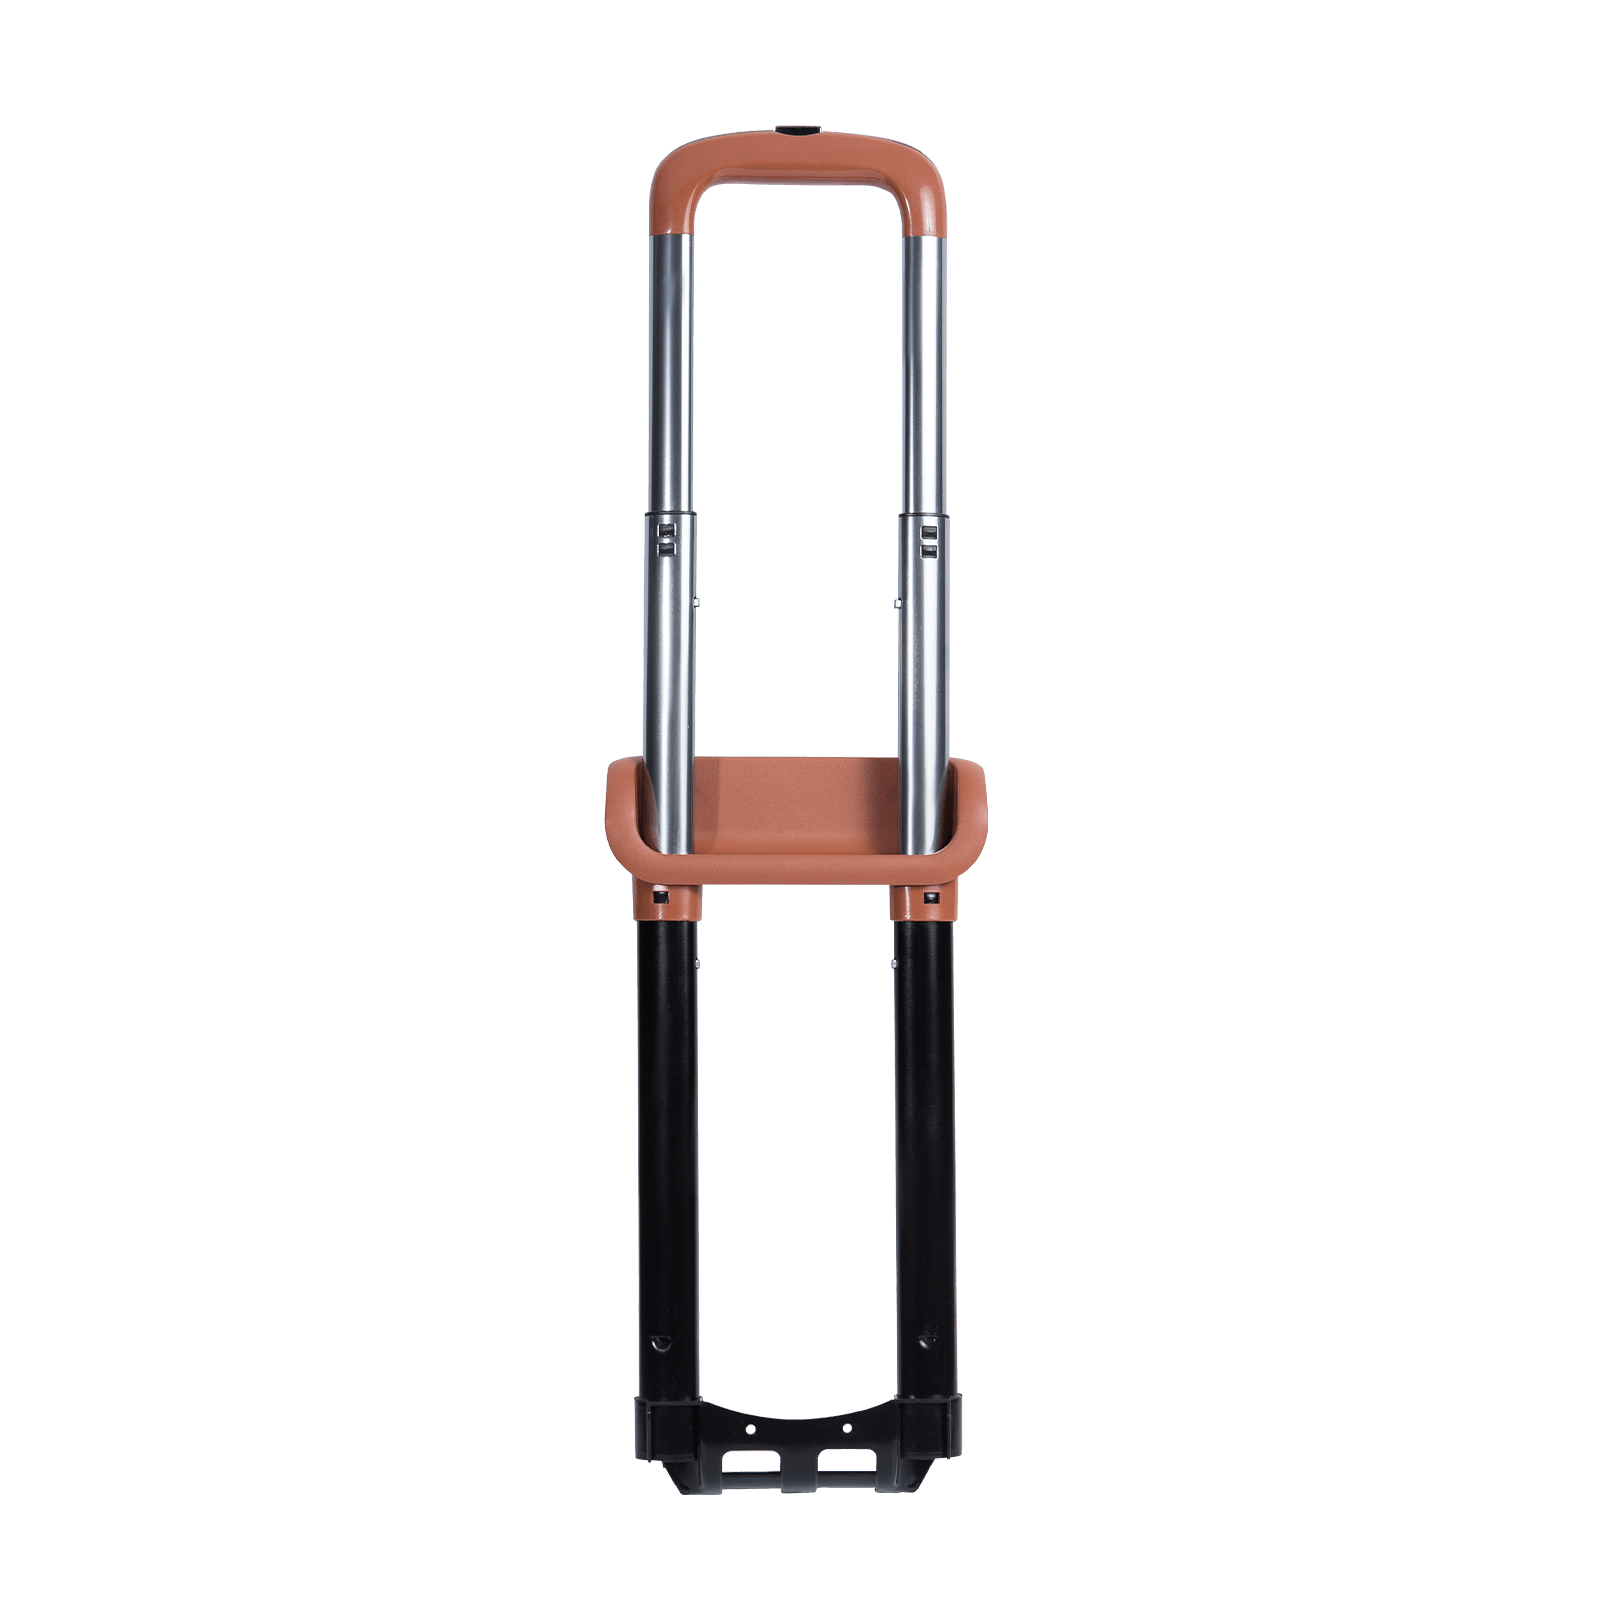
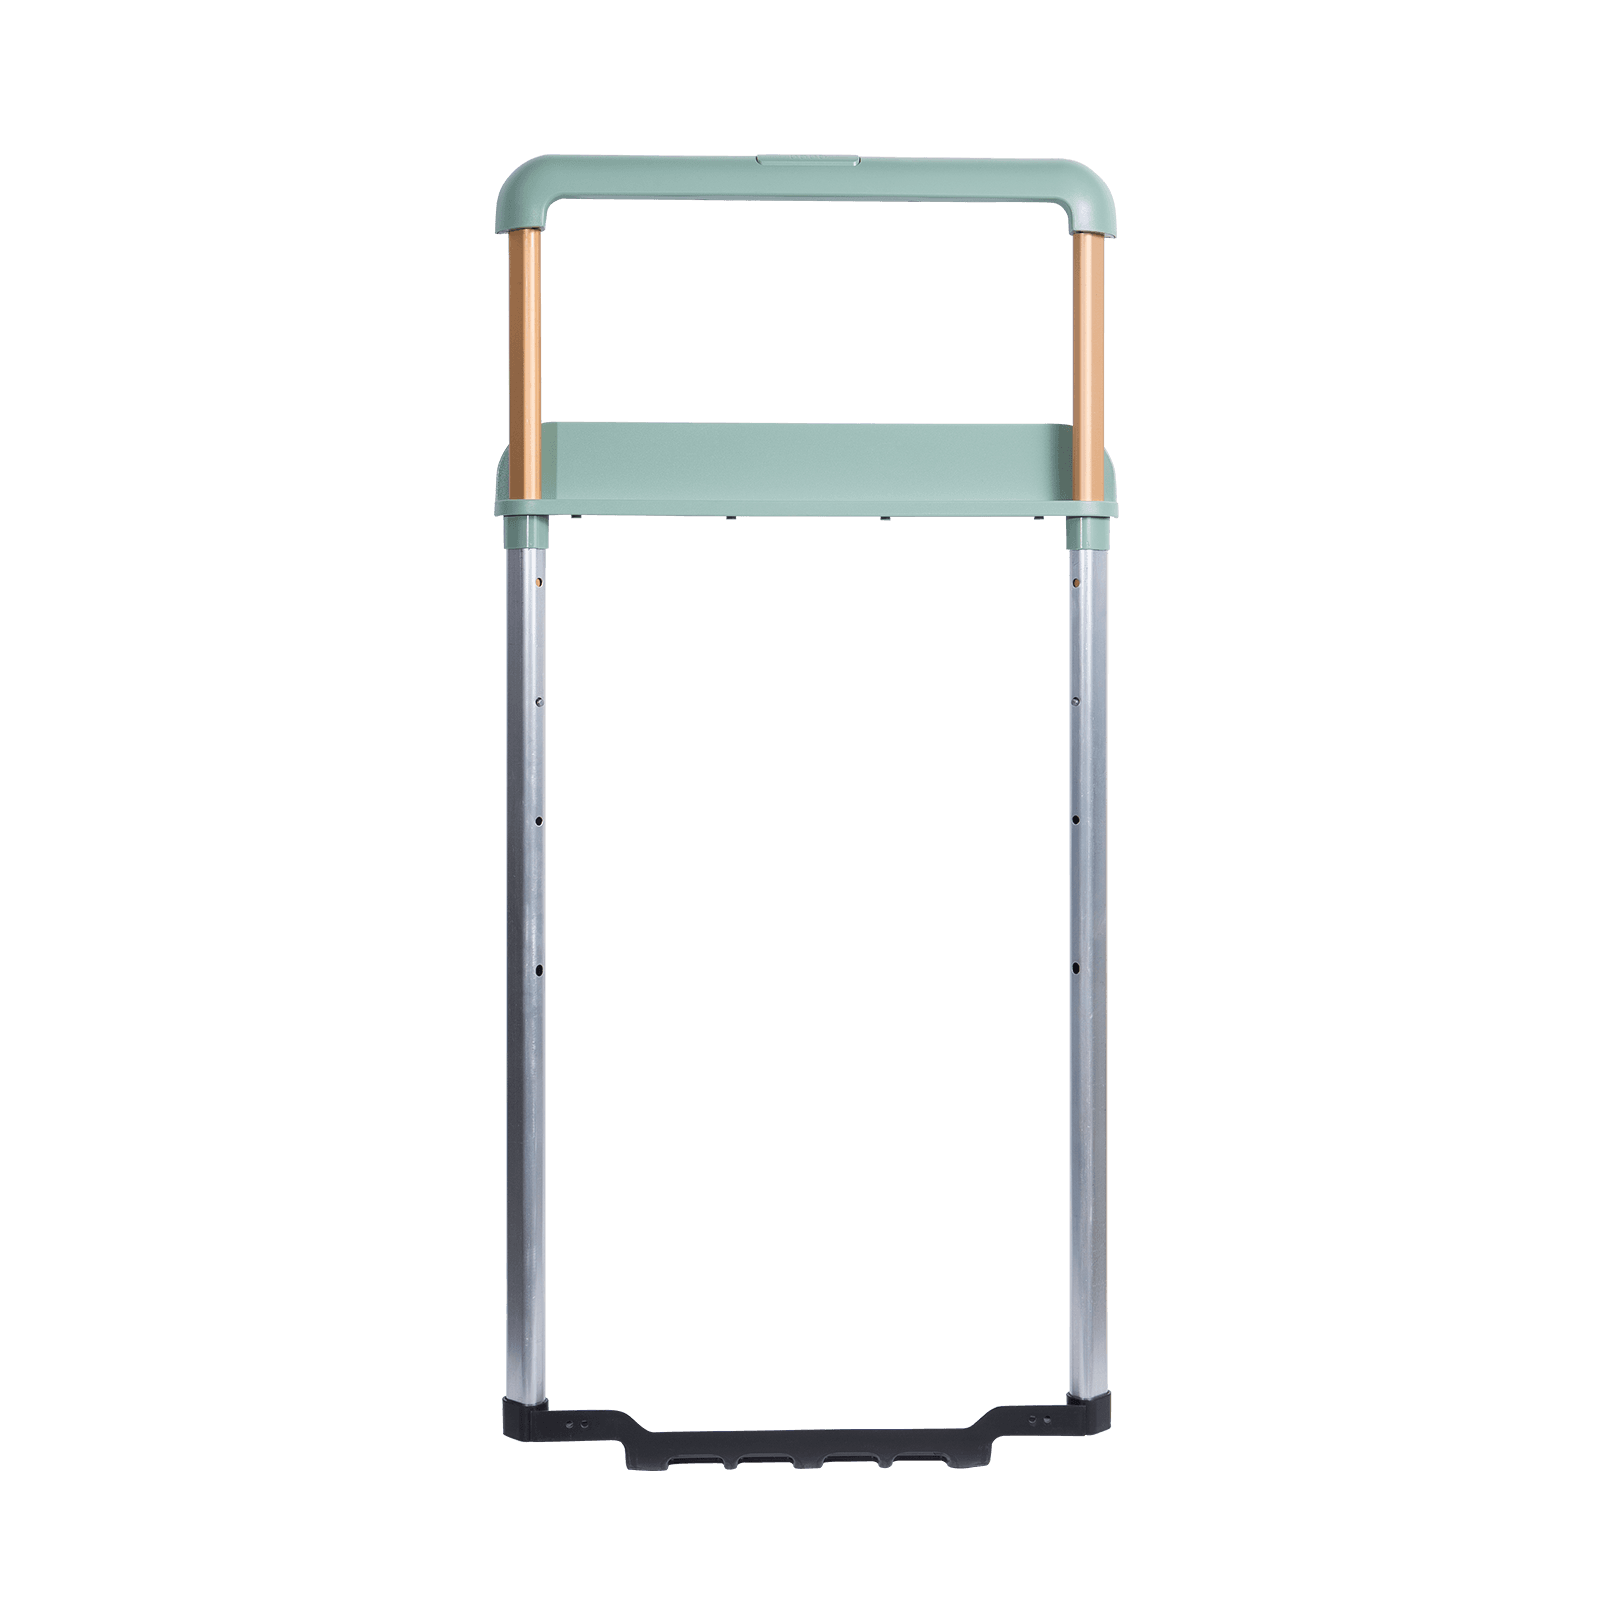
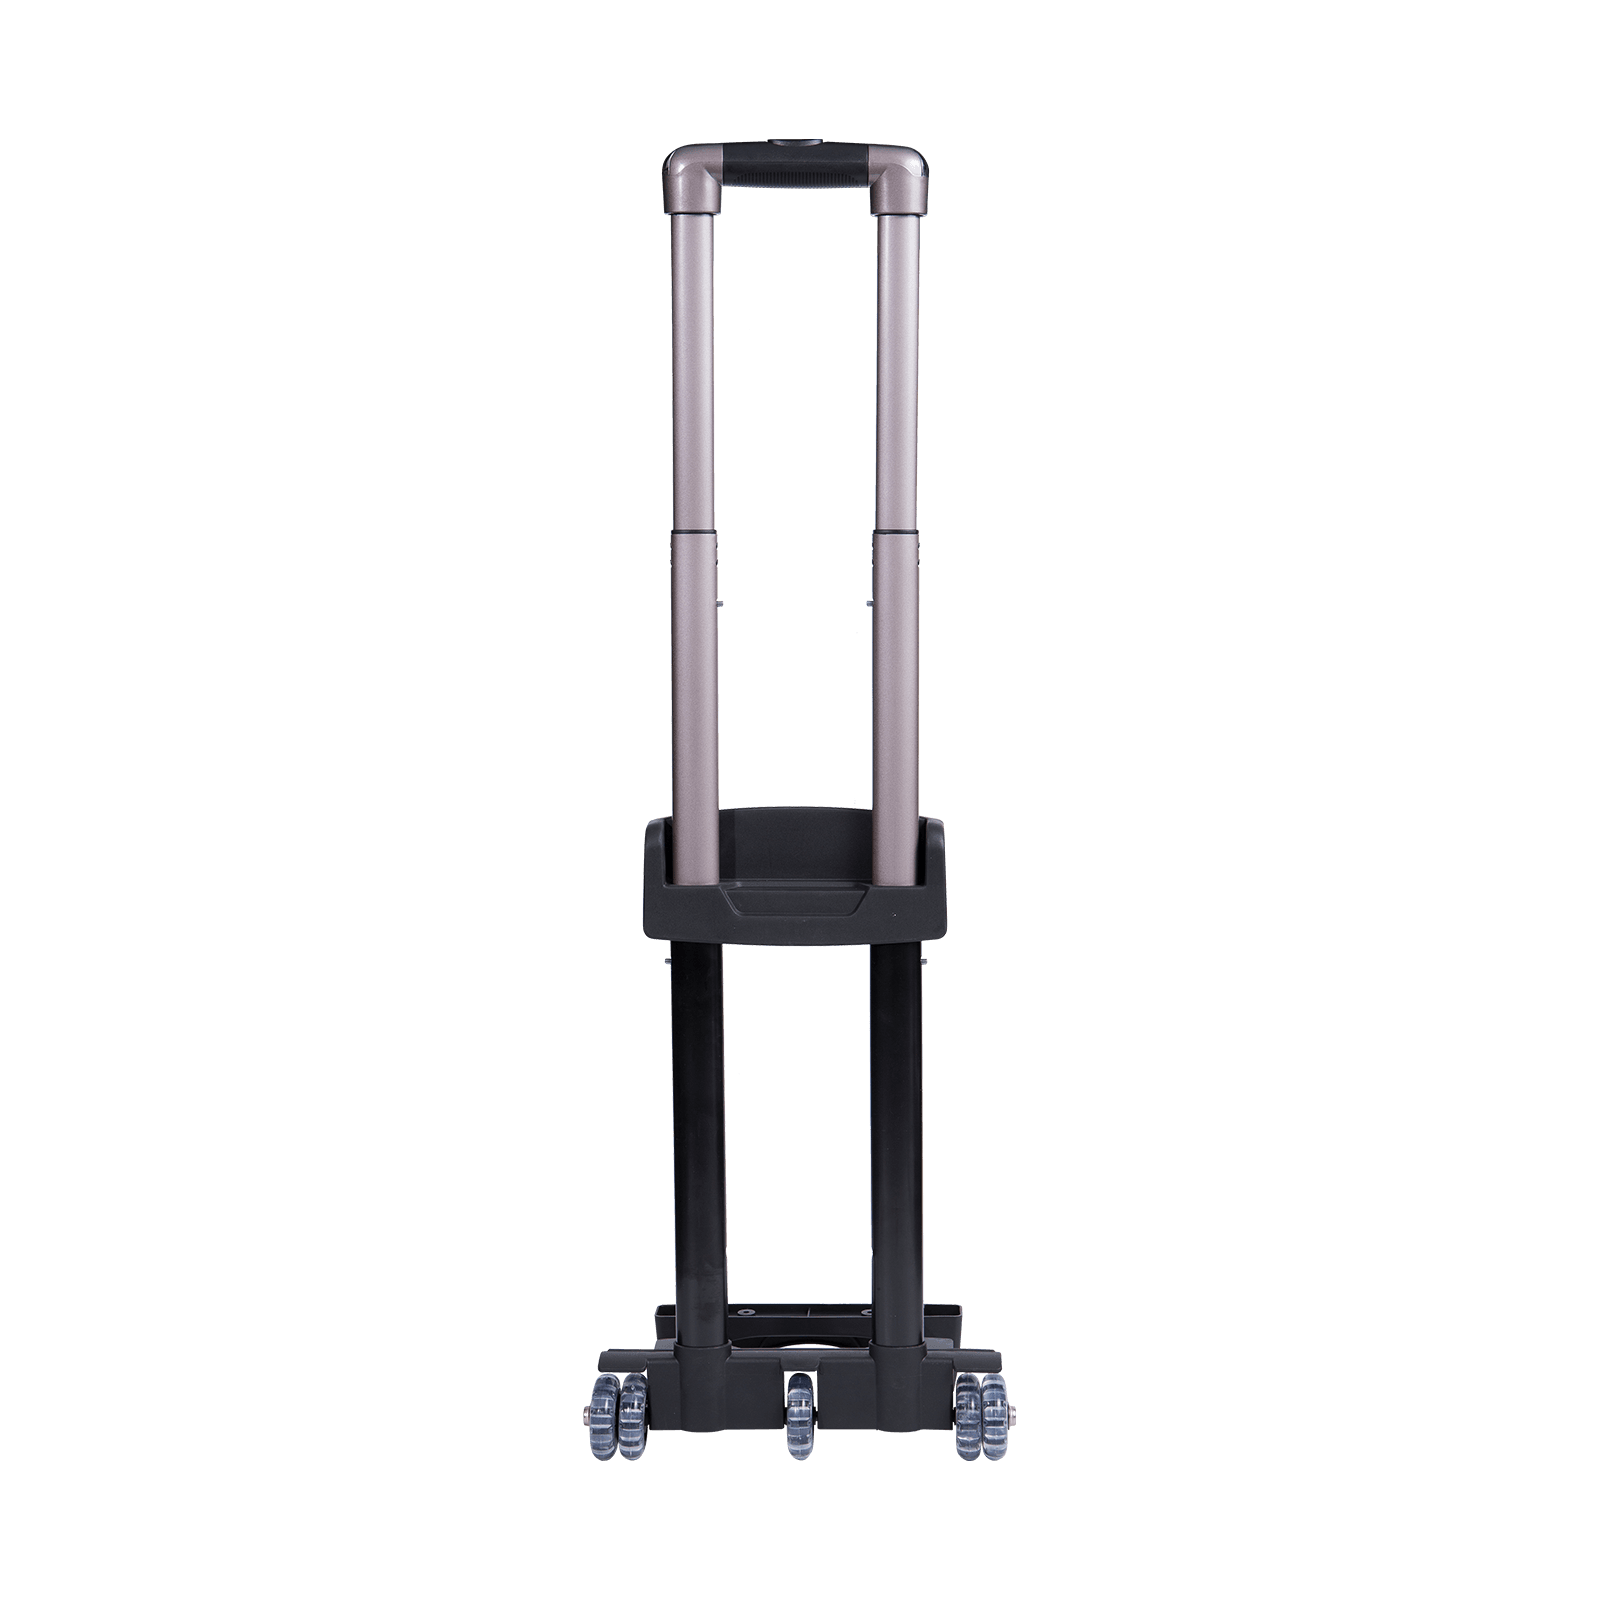
- Telescopic trolley handle – the pull-out tubes with the push-button on top, which carry most of the load while the case is wheeled.
Turn the case over and look closely at the mounting points. Are there screw heads, or smooth rivet heads? A handle held by screws can often be tightened in a minute. A riveted handle that has pulled loose needs the rivets drilled out before anything can be done. Give the handle a gentle wiggle: if the whole base plate lifts away from the shell, the shell itself may be cracked around the mounting holes, which is a slightly different repair and worth knowing about before you buy parts.
Tools to Have on the Table Before You Start
Nothing here is specialist equipment. Most households already have the first three items:
- A Phillips and a flat-head screwdriver that fit the screws properly
- Pliers or small locking grips for holding a nut or a rivet tail
- A rivet gun with rivets of the right length, or stainless bolts, washers and nyloc nuts as an alternative
- A drill with a 3–4 mm bit if you need to remove old rivets
- A replacement handle or handle base of the correct size
- A little threadlocker, silicone spray and self-adhesive grip tape for the finishing touches
Repairing a Loose or Torn Soft-Grip Carry Handle
This is the most common failure and usually the easiest to fix. Work through the steps in order and stop as soon as the handle feels solid again.
- Tighten first. Snug up the screws that hold the handle or its base to the shell. Do not overtighten – on ABS and polypropylene shells the screw can pull straight through a worn hole. If a screw spins freely, the hole has opened up; move up one size or fill the hole with a small amount of two-part epoxy, let it cure, then re-drill.
- Deal with a sliding or rotating grip. If the rubber or foam sleeve turns under your hand, lift the edge and apply a thin layer of contact adhesive, or bind it with self-adhesive silicone tape. Either fix restores grip for a long time.
- Handle a split or chewed grip. Trim any loose fragments with a sharp knife so they do not catch your hand, then wrap the grip with tape as a temporary measure. A split grip generally means the handle is ready to be replaced rather than repaired.
- Torn strap at the base. If the fabric or plastic strap has torn within a centimetre or two of the mounting point, it has lost too much strength to be trusted with a loaded case, and a new handle is the honest answer.
- Test it properly. Load the case roughly as you would for travel and lift it a few times. A handle that creaks or shifts under load will only get worse in an airport.
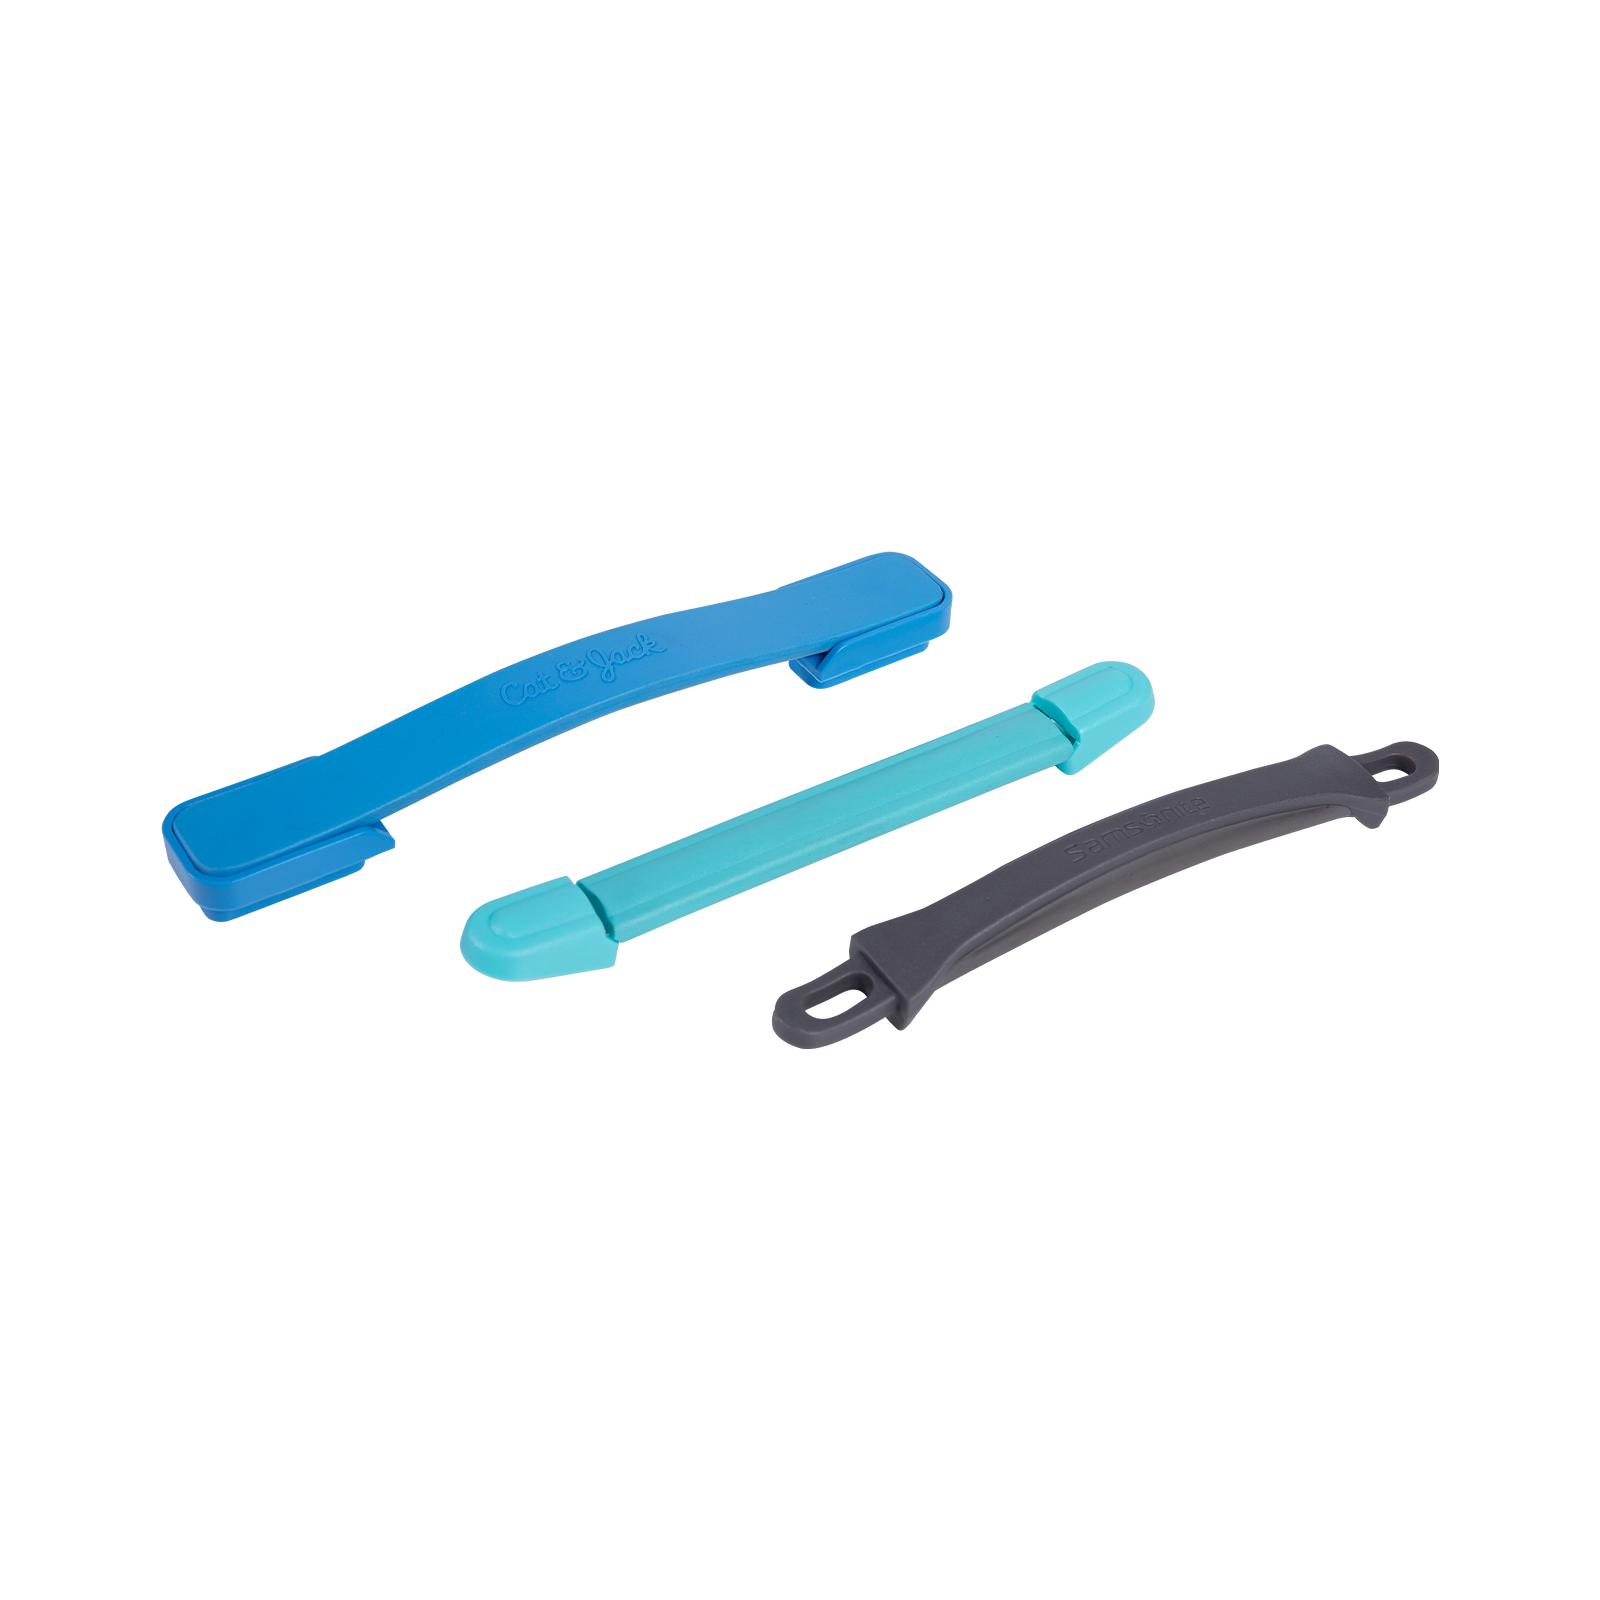
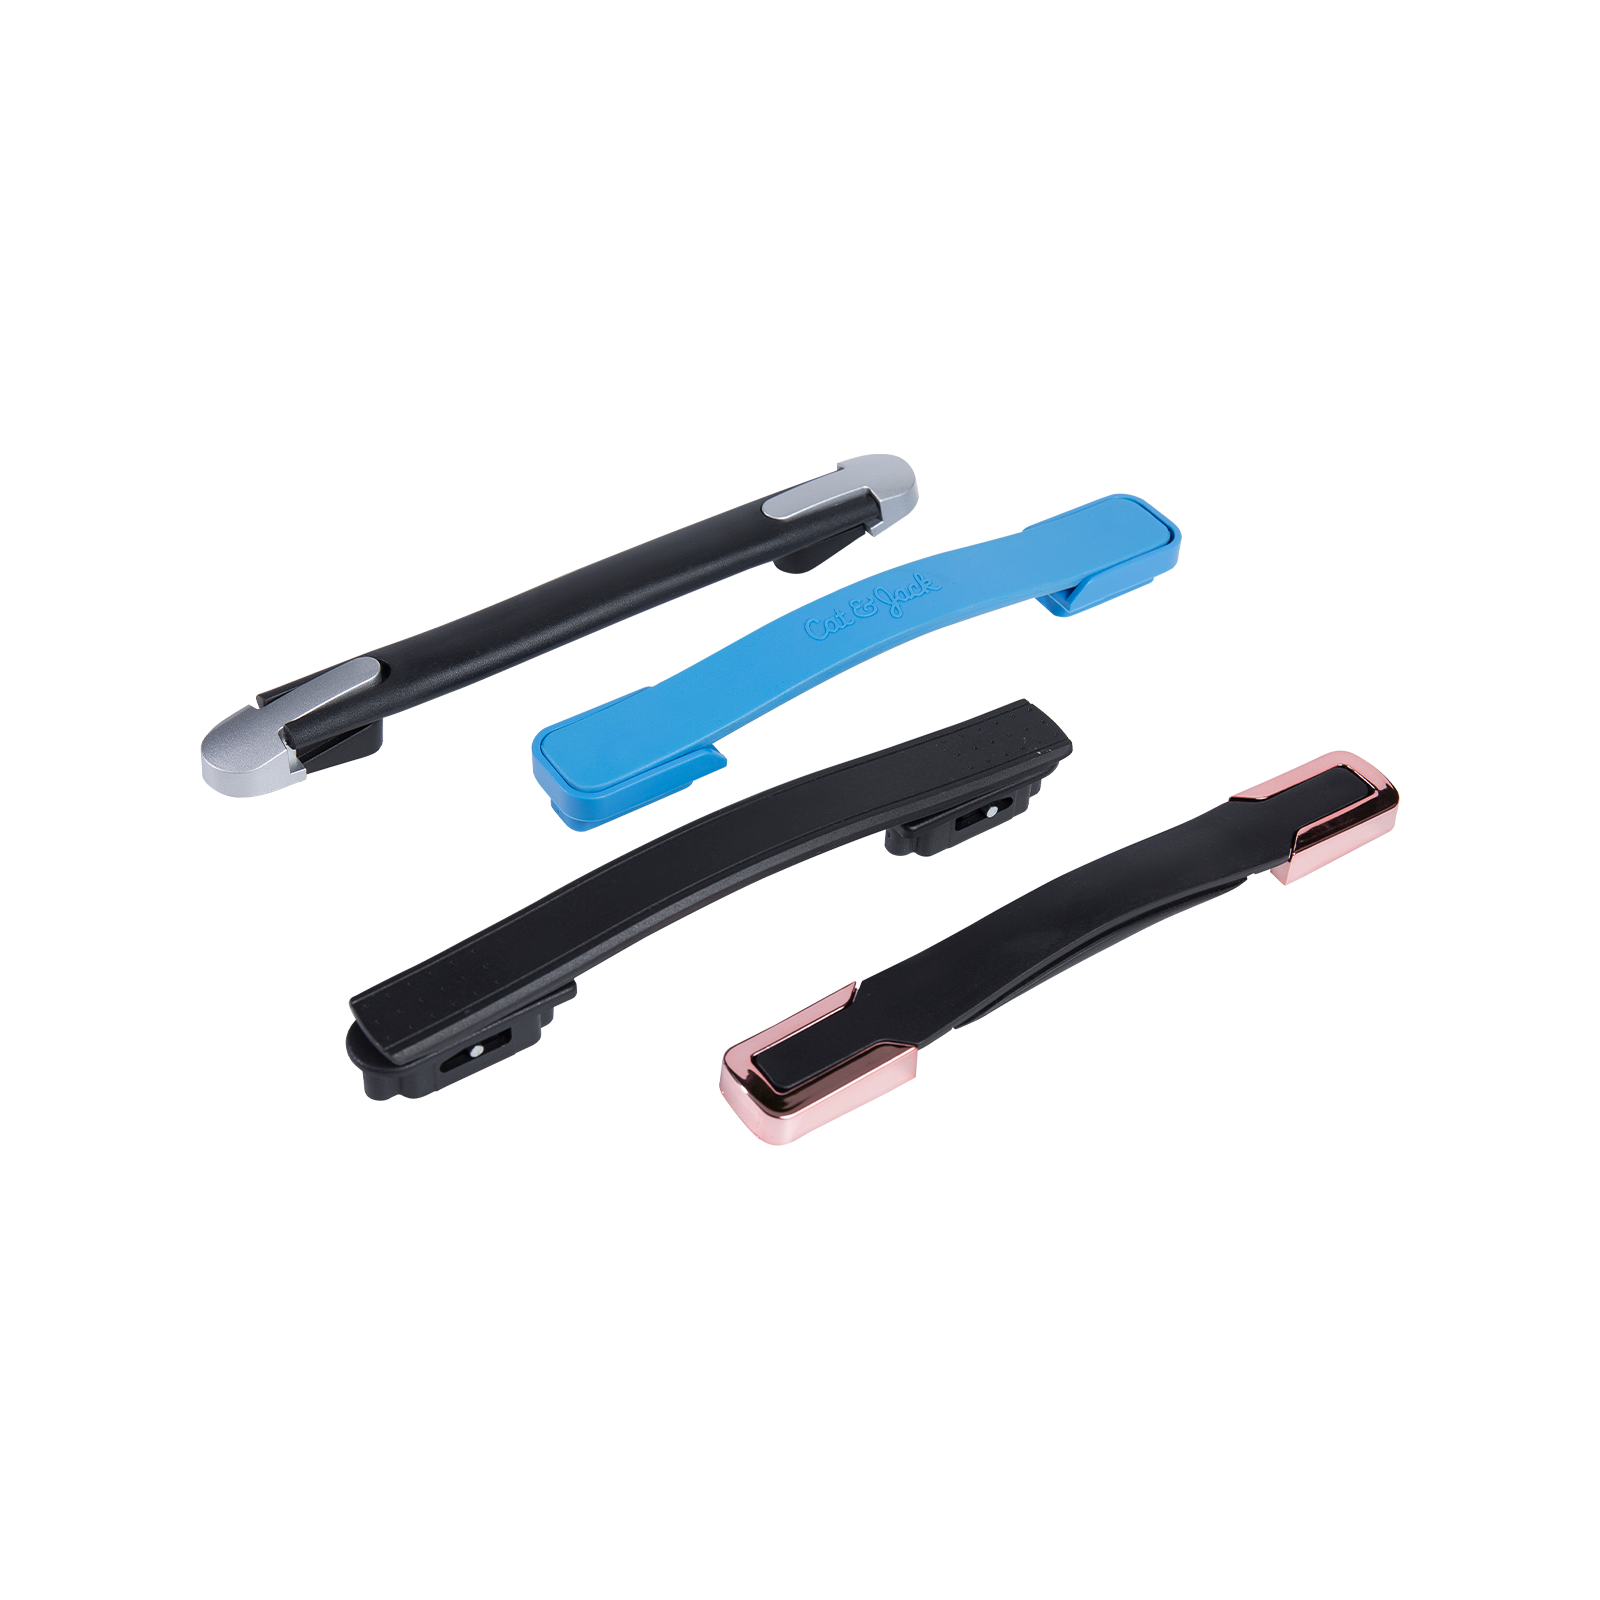
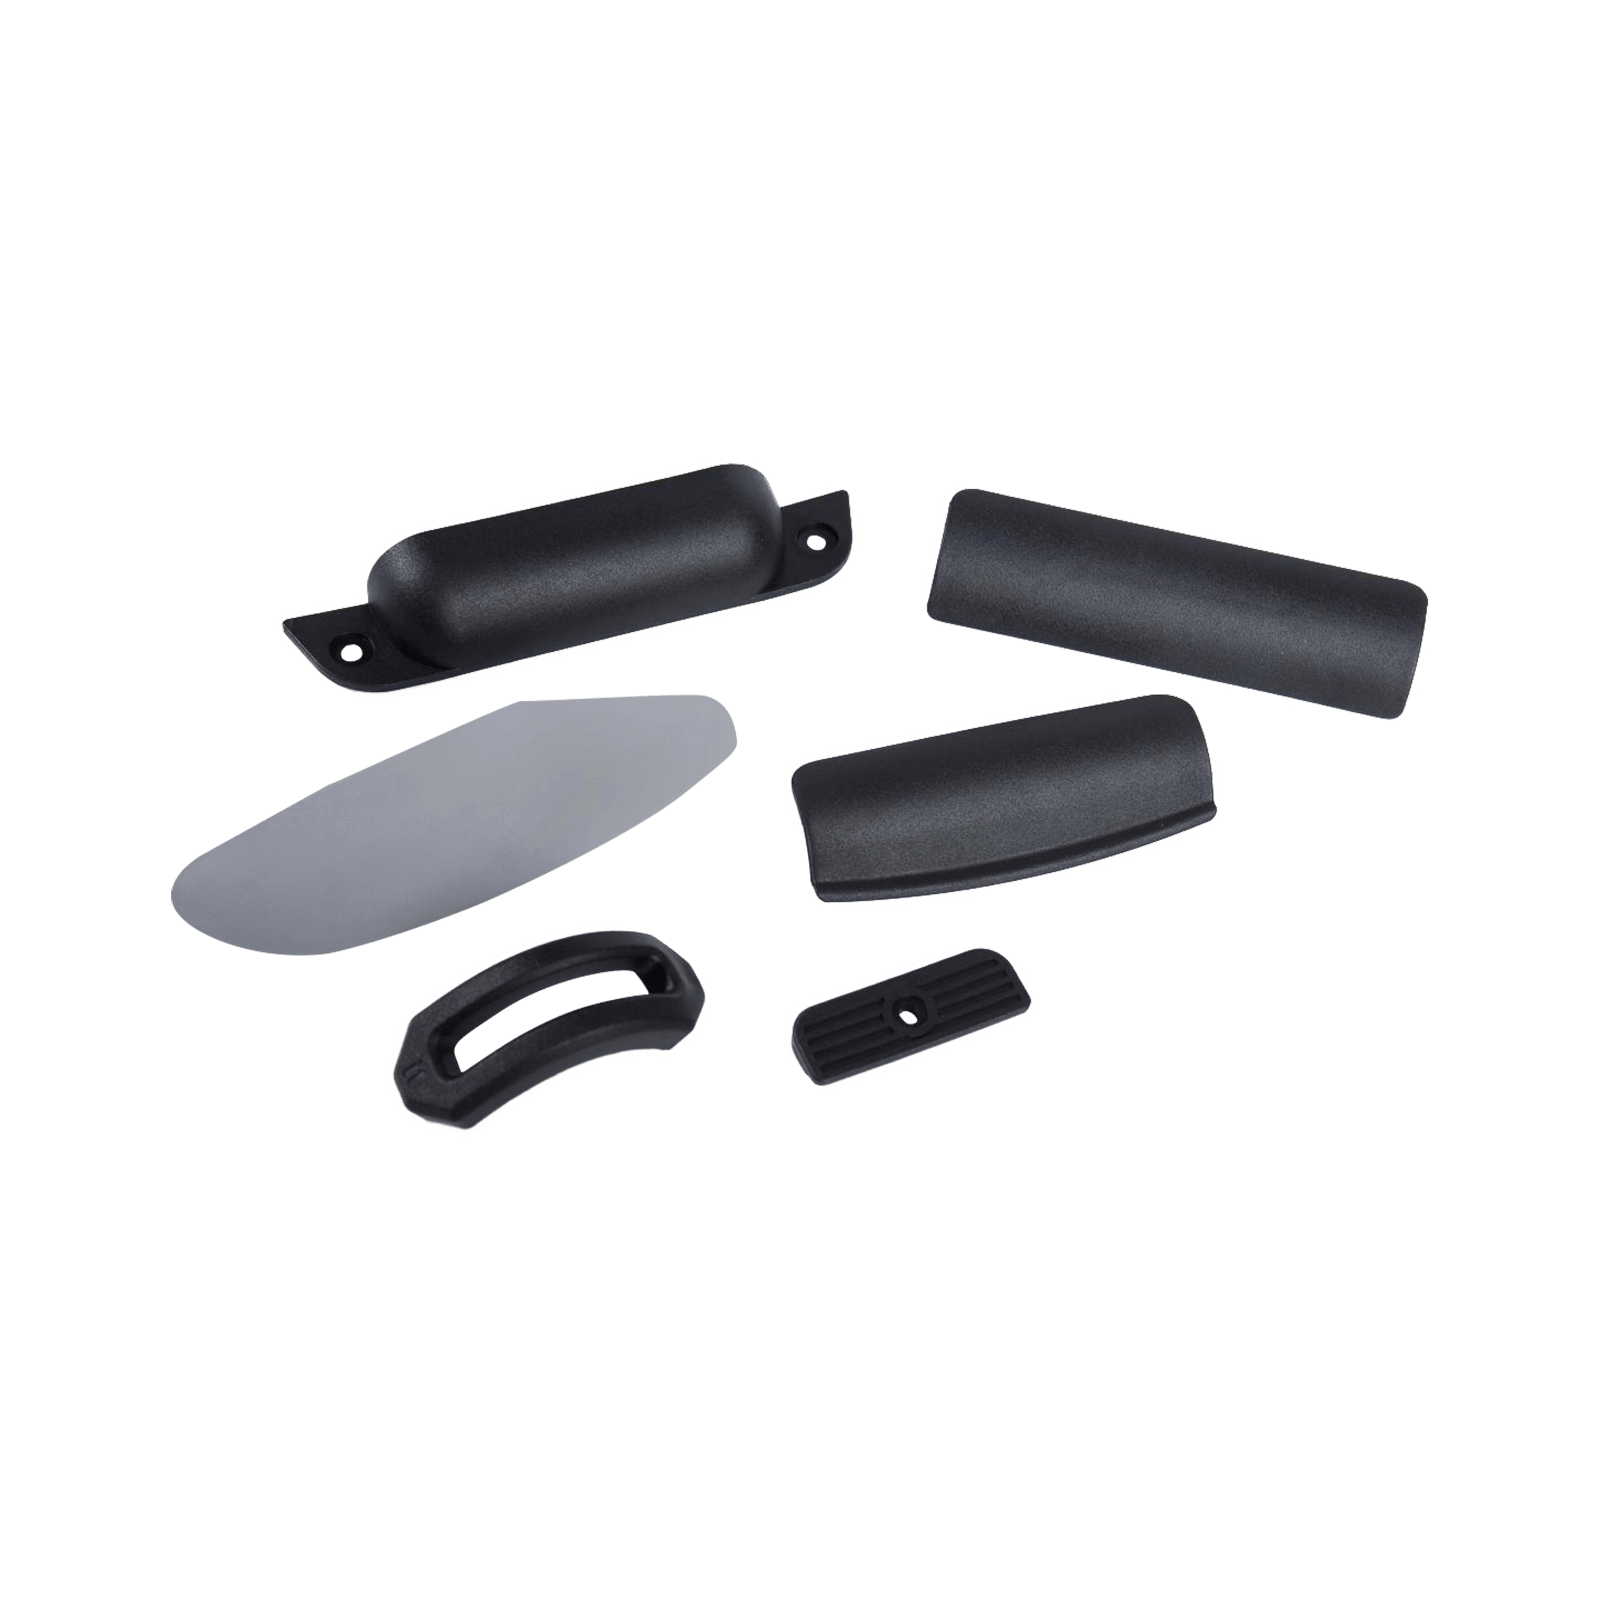
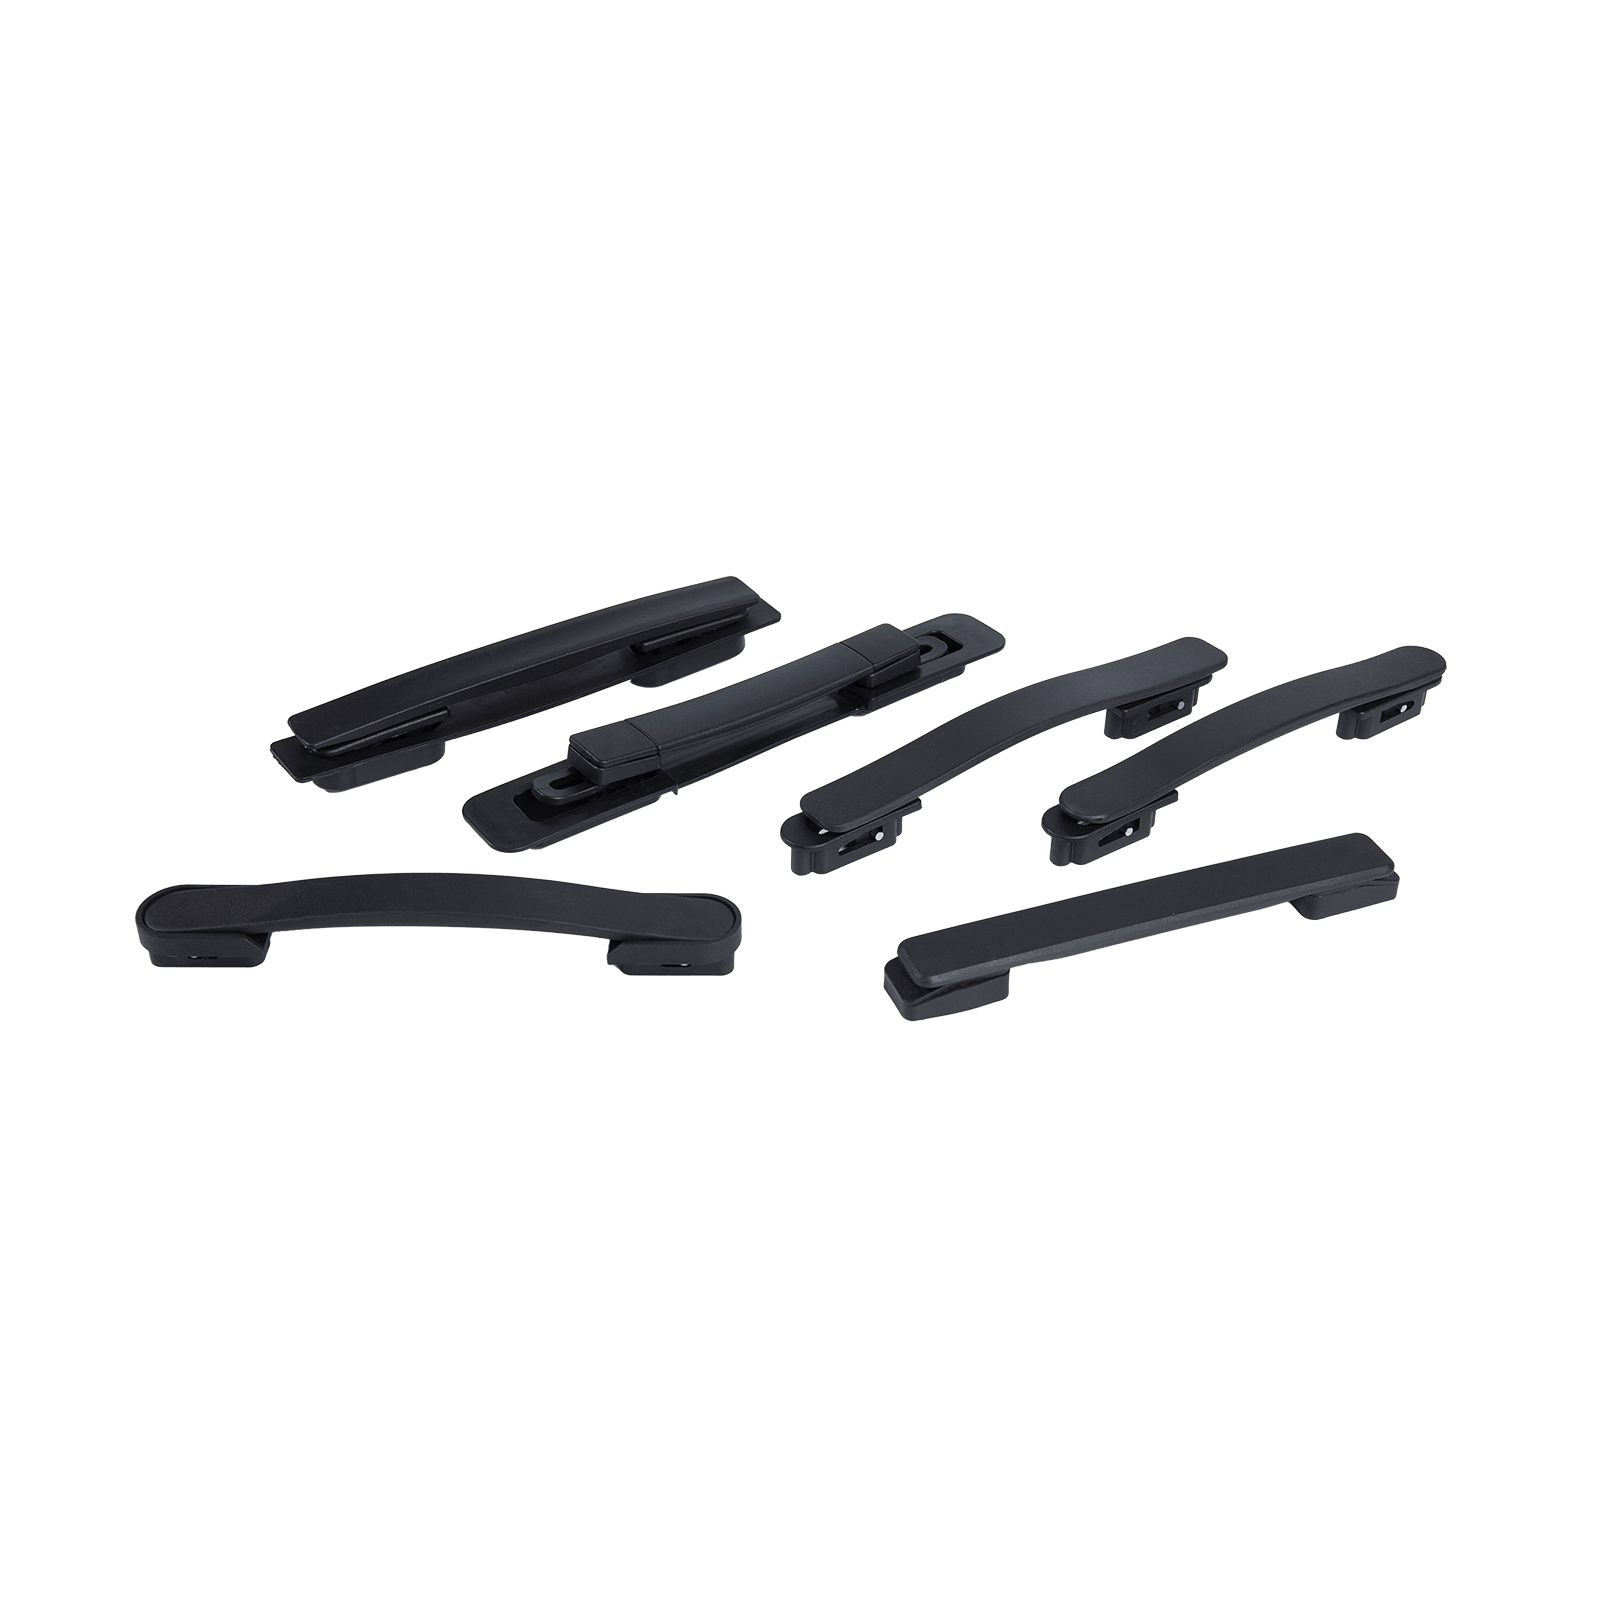 Plastic Luggage Handle for Bag RepairA lightweight plastic luggage handle for suitcases, backpacks, and handbags, with plastic or zinc seat options and customizable color or logo for replacement repairs.View Product →
Replacing a Riveted or Screw-Fixed Plastic Handle
When tightening is no longer enough, replacing the handle is a genuinely straightforward job. The only part that needs care is matching the new handle to the old mounting pattern. We have written a longer walkthrough on how easy it is to repair or replace a damaged travel bag handle if you want more detail, but the essentials are these:
- Remove the old handle. Undo the screws, or centre-punch each rivet and drill the head off with a 3–4 mm bit. Push the rivet tails through into the case and shake them out.
- Measure the mounting pattern. Note the centre-to-centre distance between the fixing holes, the width of the base plate, the hole diameter and the thickness of the shell at that point. Photograph the old part next to a ruler – it saves a lot of guesswork later.
- Choose a matching replacement. Grip length, base footprint and hole spacing all need to line up, and the handle should be rated for the weight you actually carry rather than the weight you intend to carry.
- Fit the new handle. Use rivets of the correct grip length, or stainless bolts with washers on both sides of the shell. Bolts are slightly heavier but they are easier to re-tighten later, which many frequent travellers prefer.
- Check the seal. If the case is a hard shell with a lining, make sure no rivet tail is left rattling inside and that the lining sits back neatly over the fixings.
When the Trolley Handle Is the Problem
Trolley failures feel more serious because the pull-out handle carries most of the weight, but the diagnosis is usually quick.
- Clean and lubricate sticking tubes. Extend the handle fully and wipe the tubes clean, then apply a light silicone spray. Avoid oil-based lubricants, which attract grit and make the sticking worse.
- Check the release button. If the button feels spongy or one tube refuses to move, the internal lock housing has often cracked. Press the button while watching the tubes – both should release at the same moment.
- Inspect for bends. A bent tube can sometimes be straightened, but the metal has already been weakened and it rarely stays straight under load. Replacement is the more reliable route.
- Look at the frame mounts. Wobble at the base is often nothing more than four loose screws holding the trolley frame to the shell. Tighten them with a little threadlocker and the movement usually disappears.
- Reinforce cracked mounts. If the shell has cracked around the frame screws, fit wide washers on the inside and outside before tightening. This spreads the load over a larger area and is a repair that lasts.
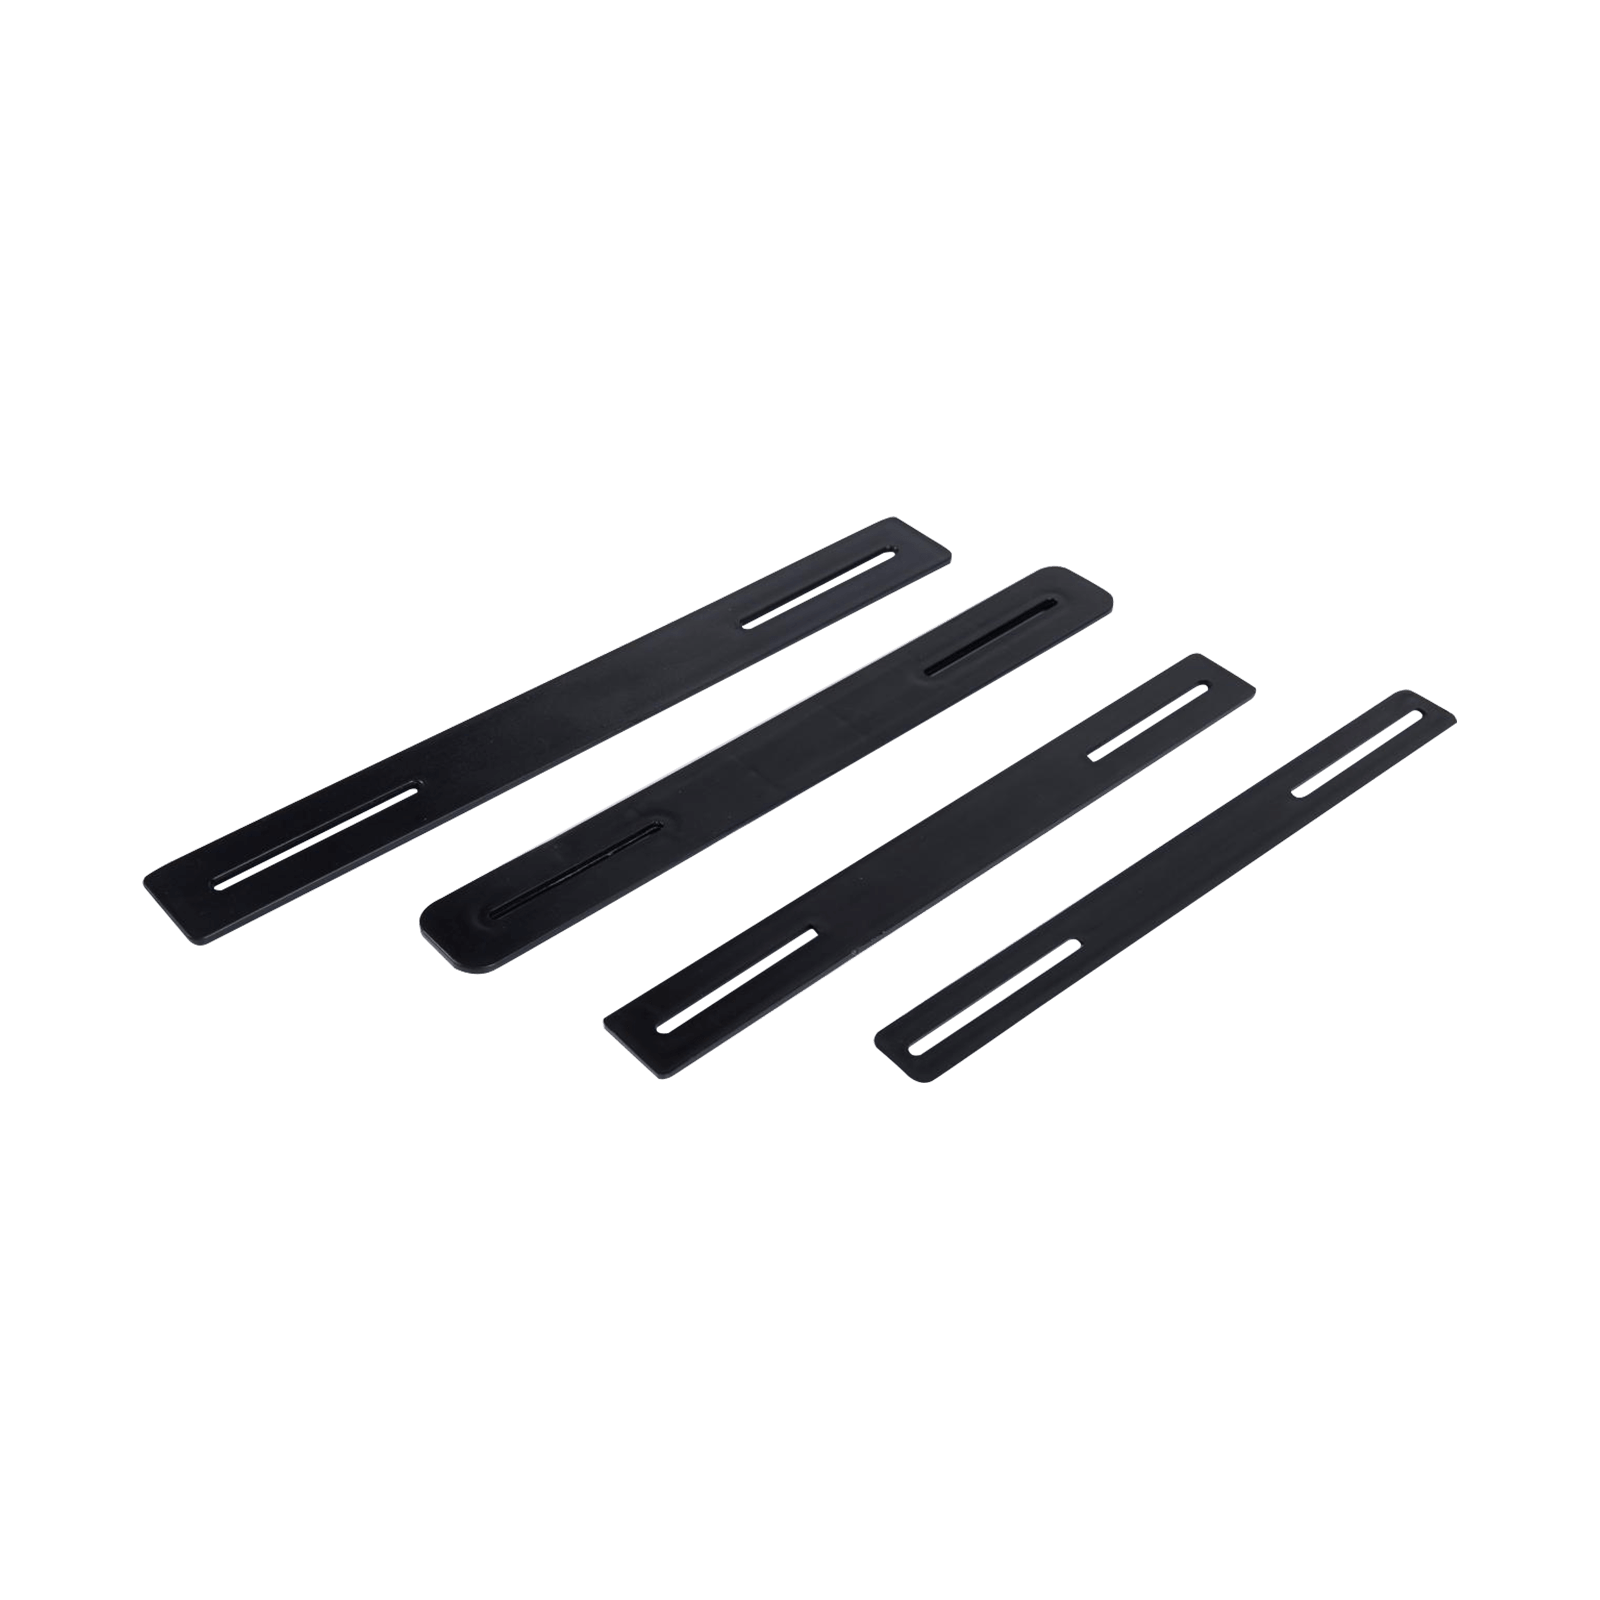
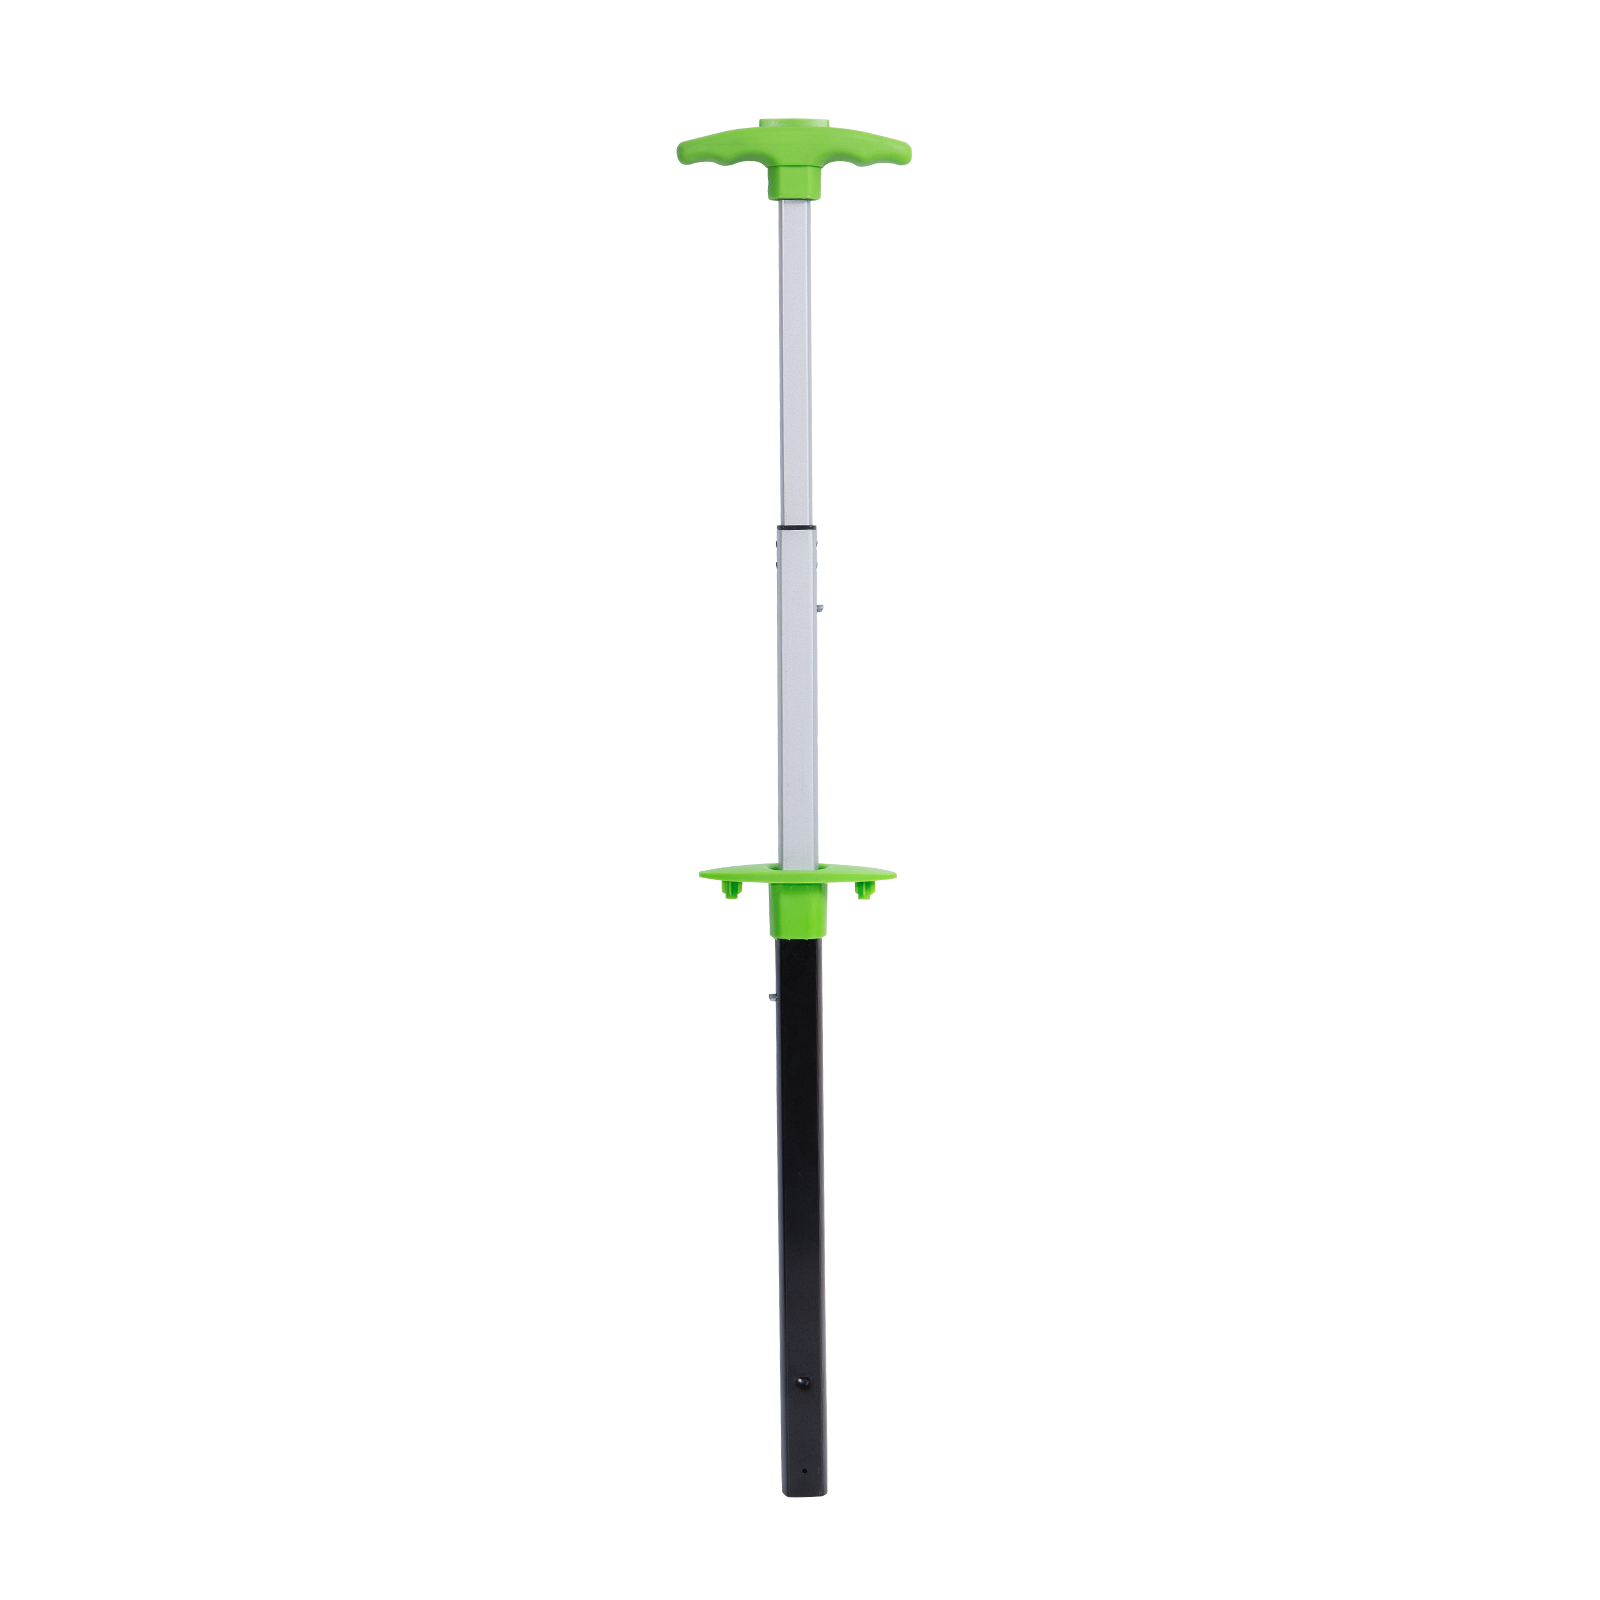 Customizable Luggage Trolley Replacement PartsReplacement trolley parts in iron or aluminum, customizable in size and Pantone color, for diagnosing pull-handle failures and planning a repair or replacement.View Product →
A Quick Diagnostic Chart
If you are still deciding whether to repair or replace, match what you can see and feel against the chart below.
| What you notice | Likely cause | DIY fix | Replace the part? |
|---|---|---|---|
| Grip slides or rotates | Loose screw or degraded foam sleeve | Tighten screws, re-glue or tape the grip | Only if the base is cracked |
| Handle lifts away from the shell | Rivets pulled through a worn hole | Fit wider washers and new rivets | Yes if the base plate is broken |
| Strap torn near the mounting point | Fabric fatigue from lifting a heavy case | Re-stitch only if the tear is small | Yes in most cases |
| Button will not release the tubes | Grit in the tubes or a broken lock spring | Clean and lubricate, inspect the housing | Yes if the internal lock has failed |
| Trolley wobbles at the base | Loose frame screws or a worn base plate | Tighten with threadlocker, add washers | Frame only if the mounts are cracked |
| One tube extends, the other does not | Bent tube or snapped internal spring | Straightening rarely holds | Yes, replace the trolley assembly |
Matching a Replacement Handle Correctly
Most failed repairs we hear about are not failed repairs at all – they are the wrong part fitted to the right suitcase. A handle that is two millimetres short on hole spacing will never sit flat, no matter how carefully it is installed. When you are comparing options, check four things: the centre-to-centre distance between fixing holes, the base footprint and its curvature against the shell, the grip length and shape for comfortable carrying, and the load rating of the handle and its base.
It is also worth thinking about how the handle will be used. A soft two-shot grip is comfortable on a light cabin case, while a plastic base with a zinc reinforcement plate holds up far better on a larger checked case that gets lifted by handlers. If your case is used hard, choose the stronger base rather than the prettiest grip.
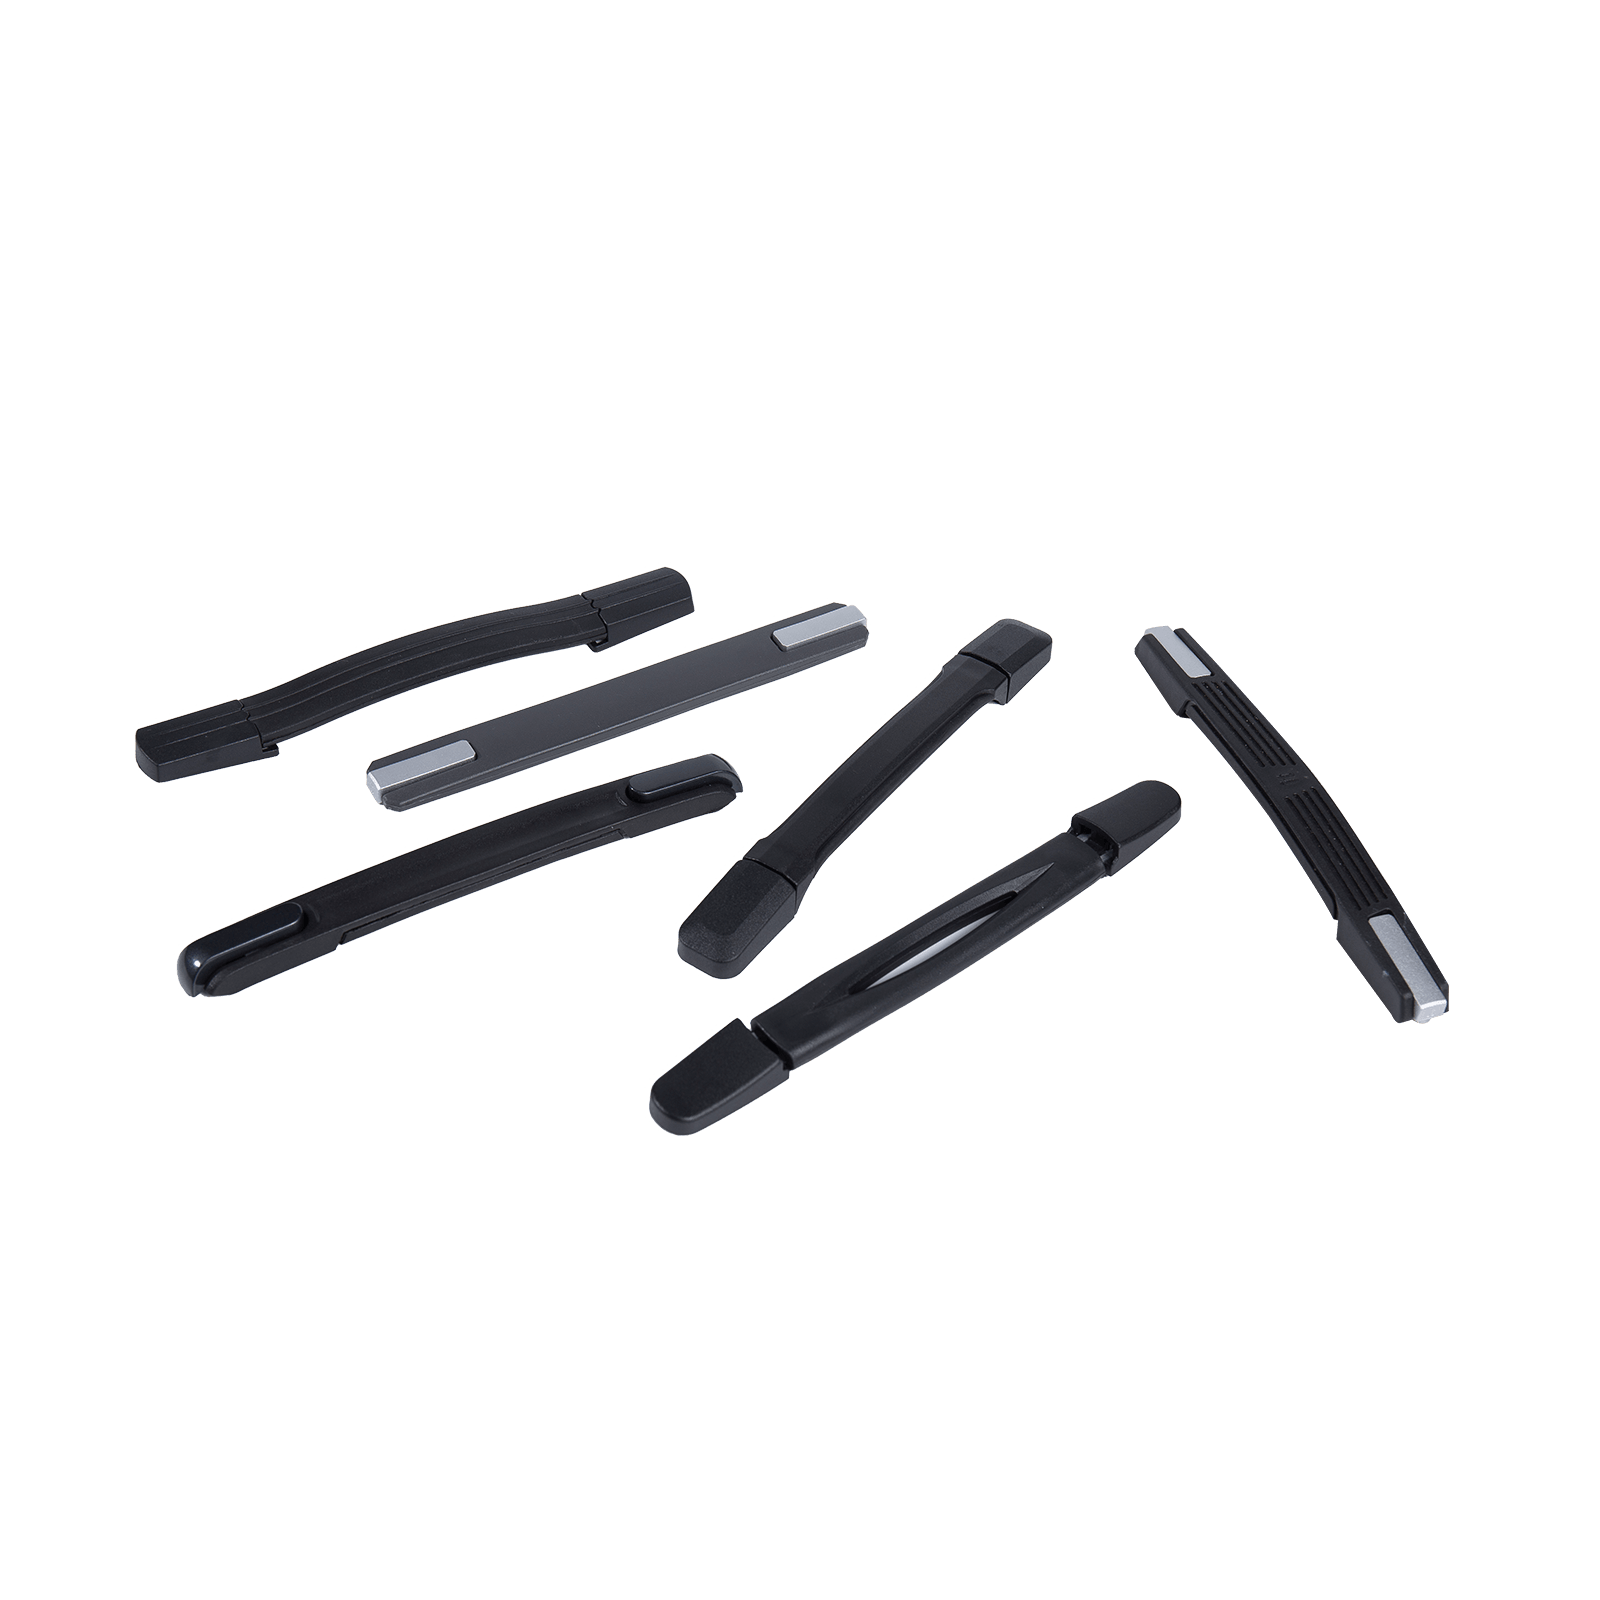 Customizable Plastic Luggage Handle with Seat OptionsPlastic luggage handle with plastic or zinc seat options, customizable color and logo, suited to matching grip and base choice to different bag uses.View Product →
Temporary Fixes While You Are Travelling
If the handle fails mid-journey and you have no tools to hand, these will get you home without drama:
- Run a luggage strap right around the case, over the top edge, and use the strap as the lifting point.
- Wrap the damaged handle with duct tape in overlapping turns – it holds surprisingly well for a few lifts.
- Thread a short length of paracord or a spare belt through the mounting holes and knot it into a loop.
- Ask at a hotel reception for cable ties; two or three heavy-duty ties threaded through the base make a usable emergency handle.
- Reposition heavy items so the case can be wheeled rather than carried, taking the load off the carry handle entirely.
Preventing the Next Failure
A little care adds years to a handle. Lift a loaded case by the carry handle rather than dragging it by the grip, and never lift it by the extended trolley tubes. Keep the packed weight within the case's stated capacity, because overload is behind most torn straps and pulled rivets. Store the case with the trolley fully retracted and, once or twice a year, spend a minute checking that the handle screws and frame screws are still snug. That small habit catches almost every failure before it happens in an airport.
None of this is difficult work, and a handle that has come loose is rarely a reason to retire a suitcase you otherwise like. If you are hunting for a replacement part and cannot find the right dimensions, we are happy to help – we have been making handles, trolleys, wheels and locks for luggage makers since 2003, and we know how much the small fittings matter. Send us the measurements and a photo, and we will point you towards something that fits.